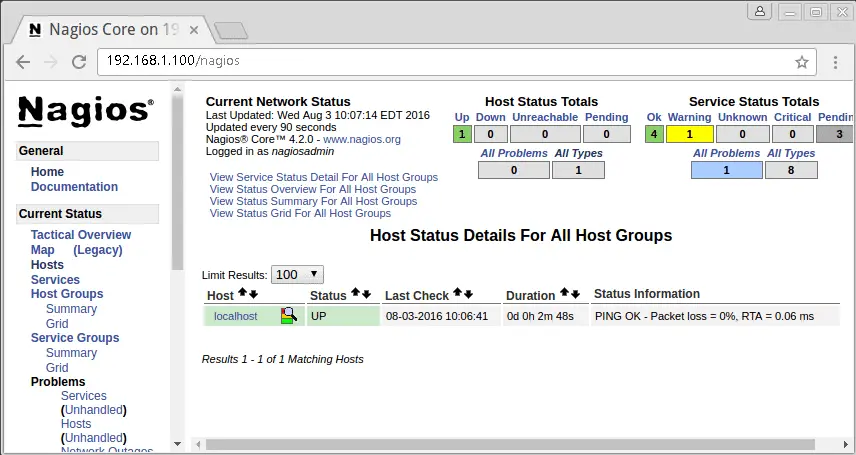
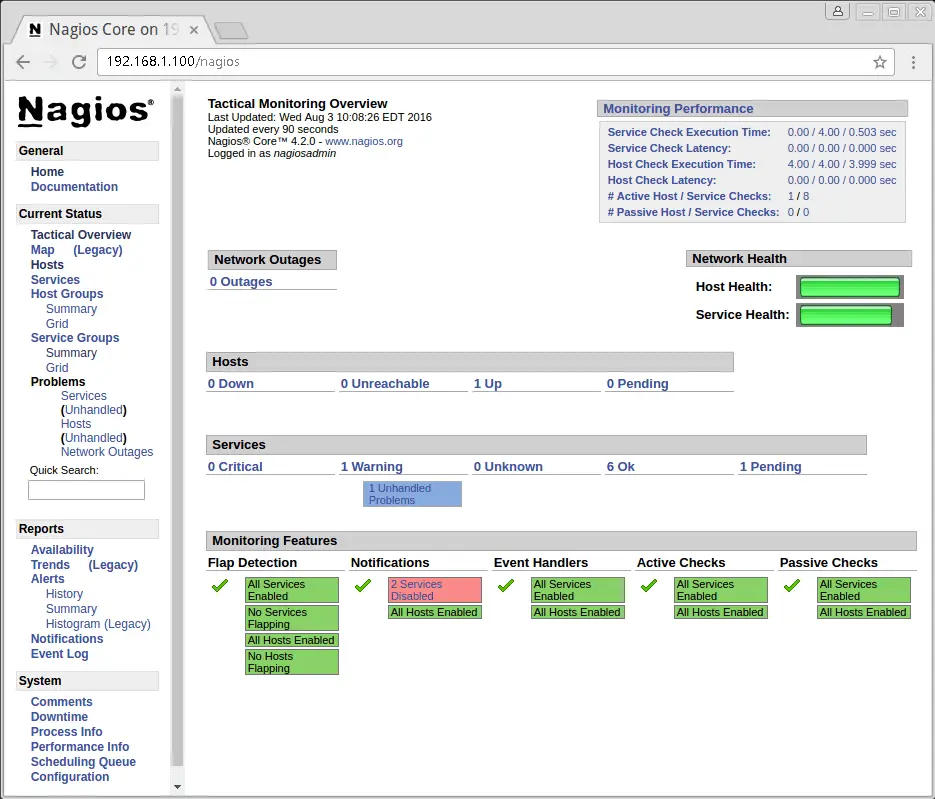
Hello Linux-fanatics, in this tutorial we will learn to installing and configuring Nagios server. Nagios server (AKA nagios core) is a very useful, open-source monitoring tool. With the help of Nagios server, we can monitor stats like ram usage, cpu usage, hdd usage along with other parameters of a number of machines/servers on single screen. If something goes wrong , its sends us warning by using sound or sending a mailto configured users or we can even configure Nagios to send a sms to a phone number.
(Recommended Read: Real Time Linux server monitoring with GLANCES monitoring tool )
(Also Read: Easy guide to setup Nagios monitoring using SSH (check_by_ssh))
Pre-requisites
Before we can install Nagios , we need some packages like httpd, php, gcc, glibc, glibc-comman & GD on our system.
To install all these packages, run following
$ yum install –y httpd php gcc glibc glibc-comman gd gd-devel make net-snmp
After all the packages are installed, we will now download the Nagios & its plugins source file. As of writing of this tutorial, Nagios 4.2.4 & Plugins 2.1.4 are the latest. You can directly download the files using link below or you can use wget also to get these files
$ wget https://netix.dl.sourceforge.net/project/nagios/nagios-4.x/nagios-4.4.2/nagios-4.4.2.tar.gz
$ wget https://nagios-plugins.org/download/nagios-plugins-2.2.1.tar.gz
Now we will start with installation of Nagios....
Installation
Step 1 – Create a user & group for Nagios
We will add a user nagios & a group nagcmd
$ useradd nagios
$ passwd nagios (enter a password)
$ groupadd nagcmd
Now, we will add nagios & apache to nagcmd group
$ usermod –G nagcmd nagios
$ usermod –G nagcmd apache
Step2- Extracting Nagios files
We will now extract the nagios & plugins files on our system
$ tar -xvf nagios-4.2.4.tar.gz
$ tar -xvf nagios-plugins-2.1.4.tar.gz
Step 3- Configuring Nagios server
Now that we have extracted the Nagios file, we will now go to the extracted folder & compile those files to install Nagios server
$ cd nagios-4.2.4
$ ./configure --with-command-group=nagcmd
after it’s completed, we will now run make & make install to complete our installation
$ make
$ make install
once these steps are done, we need to install init –scripts, commandmode & also need to install some sample Nagios files
$ make install-init
$ make install-comandmode
$ make install-config
Step4 – Configuring Web-Interface
Once all the above installations are complete, we can now configure web-interface where we will do all the monitoring. To install web-interface, run the following command
$ make install-webconf
Our web-interface is now installed and a default user “nagiosadmin” has been created. We will now assign password to user “nagiosadmin”
$ htpasswd -s -c /usr/local/nagios/etc/htpasswd.users nagiosadmin
Step 5- Setting an email for sending alerts
To set an email to receive alerts , open
$ vi /usr/local/nagios/etc/objects/contacts.cfg
and enter an email address.
(Also Read: Complete monitoring solution : Install OMD (Open Monitoring Distribution))
Step 6- Installing the Nagios Plugins
Now, it’s time to install Nagios plugins
$ cd nagios-plugins-2.1.4/
$ ./configure - -with-nagios-user=nagios --with-nagios-group=nagios
$ make
$ make install
Step 7 – Verify Nagios files
In the last step of Nagios server installation, we will verify Nagios configuration file against a sample configuration file to make sure all the settings are Okay
$ /usr/local/nagios/bin/nagios -v /usr/local/nagios/etc/nagios.cfg
If all the settings made are correct you should not receive any error.
Now restart nagios server & httpd server
$ service nagios restart
$ chkconfig nagios on
$service httpd restart
$ chkconfig httpd on
Step 8- Logging into Web-interface
Open your browser & enter http://localhost/Nagios or http://IP-address/Nagios in your address bar & you will be asked to enter the username & password. Upon entering the credentials, you can now see your Nagios Web-interface.


When you see service overview page, we can only see services of our localhost . That is because we have not added other host services on Nagios.
We now end this tutorial on installing and configuring nagios server. In our next tutorial, we will discuss how can we add Windows hosts & Linux hosts to Nagios server. Please share your queries/comments down below in the comment box.
If you think we have helped you or just want to support us, please consider these :-
Connect to us: Facebook | Twitter | Google Plus
Linux TechLab is thankful for your continued support.

thank you for all.Very Use full