Apache CouchDB is an open source, document oriented NoSQL database server. CouchDB uses JSON for data storage, JavaScript for MapReduce indexes, and regular HTTP for its API & can be easily managed from a web browser via HTTP or API.
In this tutorial, we will learn to install CouchDB on CentOS as well as on Ubuntu machines. We will start by discussing the pre-requisites to install CouchDB.
(Recommended Read: Installing MEMCACHED in Ubuntu & RHEL/CentOS )
(Also Read: How to install REDIS in Linux )
Pre-requisites
For CentOS machines, we need to have EPEL repository installed on the system as it will used to install some dependencies required by CouchDB. To install EPEL repository, run the following commands,
RHEL/CentOS 7
$ sudo rpm -Uvh https://dl.fedoraproject.org/pub/epel/7/x86_64/Packages/e/epel-release-7-11.noarch.rpm
RHEL/CentOS 6 (64 Bit)
$ sudo rpm -Uvh http://download.fedoraproject.org/pub/epel/6/x86_64/epel-release-6-8.noarch.rpm
RHEL/CentOS 6 (32 Bit)
$ sudo rpm -Uvh http://dl.fedoraproject.org/pub/epel/6/i386/epel-release-6-8.noarch.rpm
For Ubuntu system, we need software to manage the software repository. Install it using the following command,
$ sudo apt-get update
$ sudo apt-get install software-properties-common
Install CouchDB
CentOS/RHEL
To install CouchDB, we need to create a repository for the CouchDB. Create a repo by executing the following commands from the terminal,
$ sudo vim /etc/yum.repos.d/apache-couchdb.repo
& enter the following details to the file,
[bintray--apache-couchdb-rpm]
name=bintray--apache-couchdb-rpm
baseurl=http://apache.bintray.com/couchdb-rpm/el$releasever/$basearch/
gpgcheck=0
repo_gpgcheck=0
enabled=1
Save the file & exit. We can now install the CouchDB on the system with yum command,
$ sudo yum install couchdb
Now start the service & enable it for boot,
$ sudo systemctl start couchdb
$ sudo systemctl enable couchdb
Ubuntu
To install CouchDB on Ubuntu system, we will first add the official repository for CouchDB on the system with the following command,
$ sudo add-apt-repository ppa:couchdb/stable
Next install CouchDB with the following command,
$ sudo apt-get update
$ sudo apt-get install couchdb
After the installation we can make sure that the CouchDB is running file or not with the following command,
$ curl localhost:5984
It should produce the following output (5984 is the default port for CouchDB)

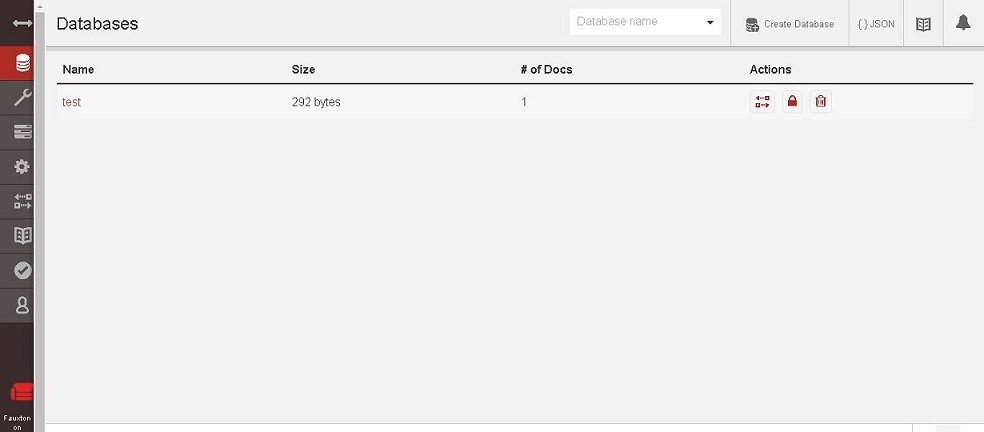
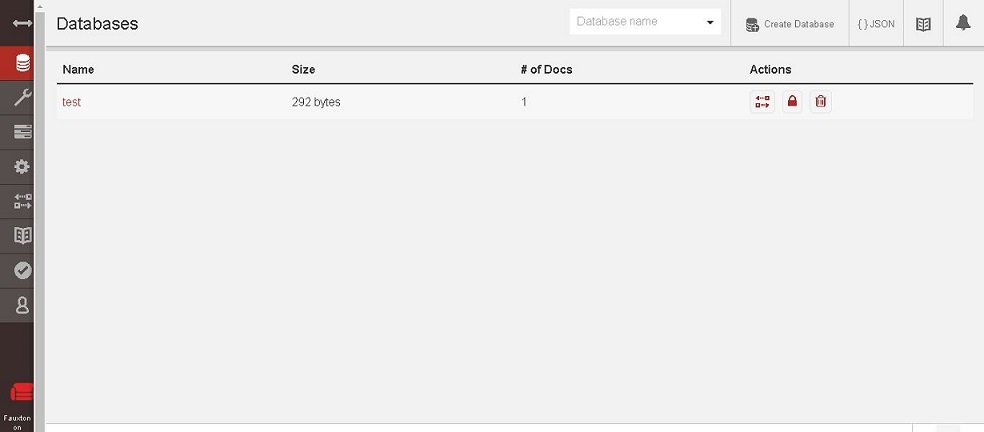
We will now access the web page for managing the CouchDB, called FUTON. But before we do that we need to make some changes in CouchDB configuration file as by default the webpage can only be accessed for localhost.
To be able to access the webpage from any system on the network, open the file ‘/opt/couchdb/etc/default.ini’ (for Ubuntu , the file is ‘/etc/couchdb/default.ini’) & look for the section ‘[chttpd]’ & change it following,
$ sudo vim /opt/couchdb/etc/default.ini (For CentOS)
$ sudo nano /etc/couchdb/default.ini (For Ubuntu)
[chttpd]
port = 5984
bind_address = 0.0.0.0
We can also set a password to access the webpage. To achieve this, look for section ‘[admins]’ in the same file & mention the user name & password in the following manner (create the following entry to the bottom of the file, if it does not exist already),
[admins]
admin = admin_passwd
here ‘admin’ Is the user with ‘admin_passwd’ is the password for user admin. Save the file & exit, than restart the service to implement the changes,
$ sudo systemctl restart couchdb
Now access the webpage with the following URL,
http://10.20.30.102:5984/_utils/


Here, 10.20.30.102 is the IP address of the server on which CouchDB has been installed. We can use this to webpage to create & manage the CouchDB databases. With this we now end our tutorial on how to install CouchDB on CentOS & Ubuntu machines.
Please leave any query/question or suggestion using the comment box below.
If you think we have helped you or just want to support us, please consider these :-
Connect to us: Facebook | Twitter | Google Plus
Donate us some of you hard earned money: [paypal-donation]
Linux TechLab is thankful for your continued support.
