In this tutorial, we will learn to install OMD on CentOS 6 & to use it. OMD or Open Monitoring Distribution is one of the best things that will make every System Admin’s day. OMD is an open-source server, network monitoring, Linux monitoring tool that comes bundled with a number of pre-installed monitoring applications.
The list of all the bundled monitoring tools are as follows,
* Nagios
* checkmk
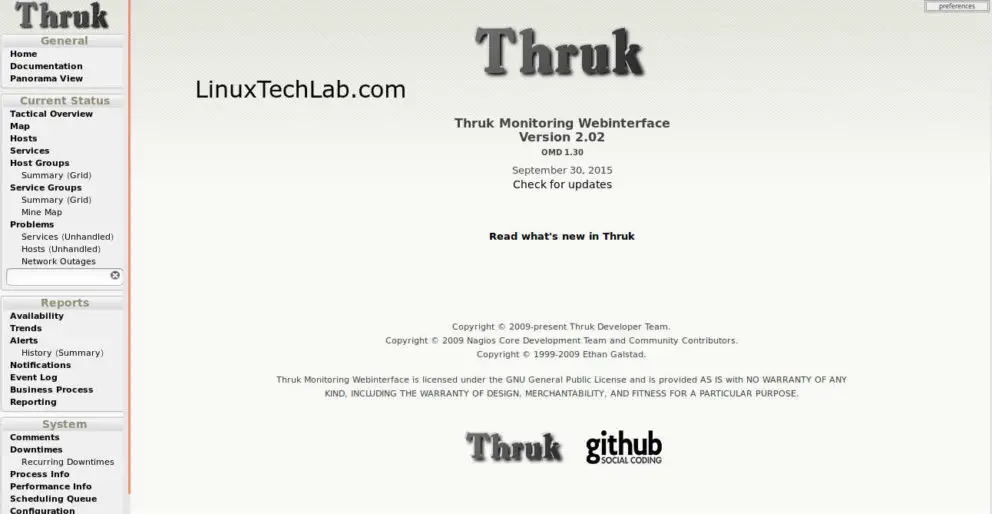
* Thruk Monitoring interface
* ICINGA
* NagVIS
* PNP4Nagios
& then, we also have the DOKU wiki, which is used for creating documentation.
That means if you install OMD, you have all these Linux monitoring tools installed on your machine. You can then use any or all of these tools for monitoring your network. Installation on OMD is very simple, we only need to install the OMD package & all the tools will be installed along. Then we only have to choose the monitoring tool we want to use & configure the client machine according to that tool.
Recommended Read: Easy guide to setup Nagios monitoring using SSH (check_by_ssh)
Also Read: Install Grafana & integrate with Prometheus for complete monitoring
We will now discuss how to install omd on Ubuntu & CentOS machine...
Installation on Ubuntu Machines
At the time of writing this tutorial, 1.30 is the latest available version for OMD. As mentioned above, to install OMD we need to grab the package for Ubuntu, download the package using the following command,
$ wget http://files.omdistro.org/releases/1.30/omd-1.30.vivid.amd64.deb
NOTE: OMD has recently developed a new version which has some changes to it but this version still a very choice Linux monitoring tool.
That’s the package for Ubuntu 15.04 but it works for Ubuntu 16.04 as well. Now execute the following command to install the package,
$ sudo apt-get install omd-1.30.vivid.amd64.deb
Now let’s see the method to install OMD on CentOS 6.
(Recommended Read : Beginner's guide for installing and configuring Nagios server )
Install OMD on CentOS 6
We need rpm version to install OMD on CentOS machines, so download the rpm using the following command,
$ wget http://files.omdistro.org/releases/1.30/omd-1.30.rhel7.x86_64.rpm
& install it using,
$ sudo yum install –nogpgcheck omd-1.30.rhel7.x86_64.rpm
We now have our system ready with OMD installed on it we will now configure OMD.
Note: - You can find all the packages on the Official OMD website.
Configurations
To start using monitoring tools, we need to create an instance on OMD. To create an instance use the following command,
$ sudo omd create monitoring
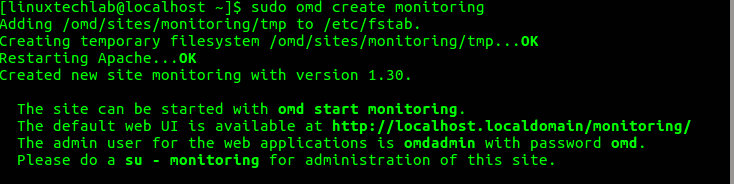
this will create a new instance on omd with the name ‘monitoring’ along with a user, group & also a home folder for the user ‘monitoring’ & it will be created under ‘/omd/sites/’.
Next switch the user to ‘monitoring’,
$ sudo su – monitoring
& start the omd instance by executing the following command,
$ omd start

Once the instance is up & running, open a browser & enter the following URL to access the instance with all the monitoring tools,
http://localhost/monitoring
Enter IP address of the server in place of localhost, if using any other machine on the network. Default username is ‘omdadmin’ with default password as ‘omd’, as also seen in first screenshot.
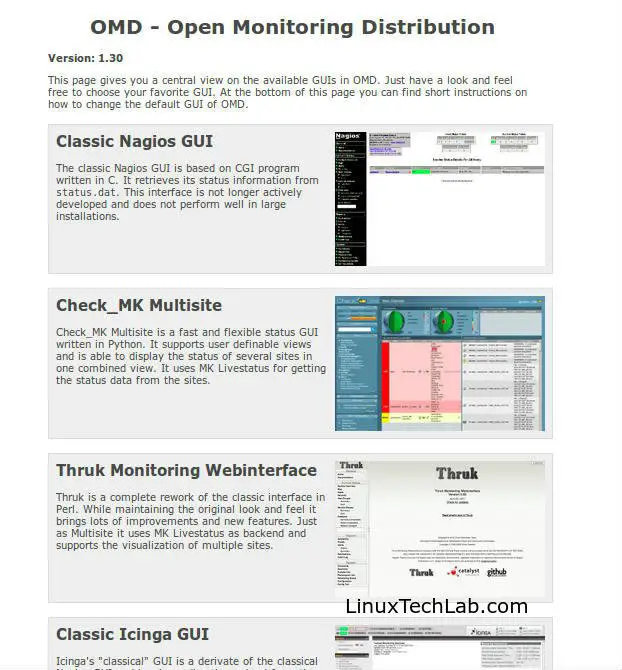
To start using any of the listed monitoring tools, just click on it & you can then access the tool. Configure the tool & start monitoring.

These are good Linux monitoring tools, isn't it?
This completes our tutorial on how to install OMD on CentOS 6 & how we can configure various OMD tools. Leave your queries/questions/suggestions in the comment box below.
Dear author,
My name is Jan and I work for tribe29, the team behind Check_MK.
I’m reaching out because I found this guide you wrote that mentions Check_MK (a product originally developed by Mathias Kettner GmbH).
Recently, the company has rebranded itself (find out why at https://tribe29.com/brand#name), so Mathias Kettner GmbH became tribe29 GmbH – and the product naming switched from Check_MK to Checkmk. We also moved our website from mathias-kettner.com to checkmk.com.
We would be grateful if you could update the new spelling and also link to our new website.
Either way, thanks for the great resource. Enjoy your week.
Best regards,
Jan Leptien