PhpMyAdmin is free and open source tool for managing/administration of MySql & MariaDB databases. It provides a web based GUI to for database administration which is robust alternative to command line administration.
Operations like managing databases, tables, columns, relations, indexes, users, permissions, etc can be performed directly via the user interface, while we still have the ability to directly execute any SQL statement.
In this tutorial, we will install phpMyAdmin on Ubuntu systems. Let’s check the pre-requisites before we move on to installation.
( Recommended Read: Installing MEMCACHED in Ubuntu & RHEL/CentOS )
Pre-Requisites
-> We need to have LAMP stack installed on our system. We have already covered LAMP stack installation in our article ‘LAMP stack installation on Ubuntu’. Refer to the article to create a LAMP stack on your system. Once LAMP stack is up & running, move on to installation of phpMyAdmin installation.
Installation
Installation of phpMyAdmin is simple on Ubuntu machines. Open terminal & run the following command,
$ sudo apt-get install phpmyadmin
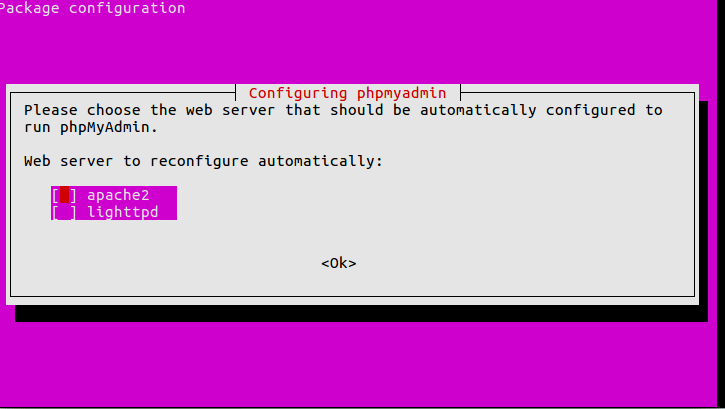
When the installation starts, we will get the following prompt asking to select webserver, Select ‘apache’ & press ok,
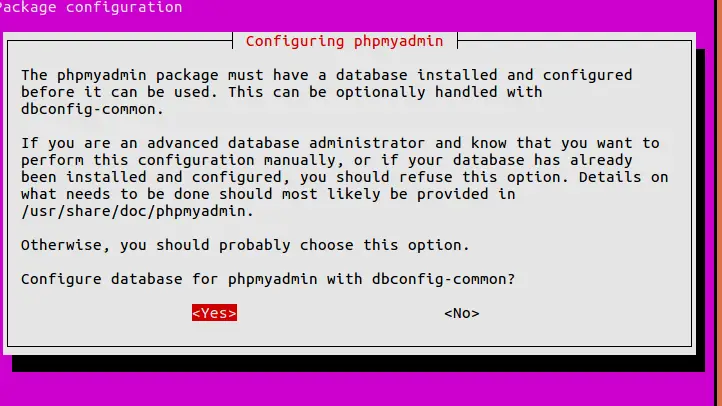
On the next screen, it will ask for database to be used by phpMyAdmin. We will leave it at default & press ‘yes’,
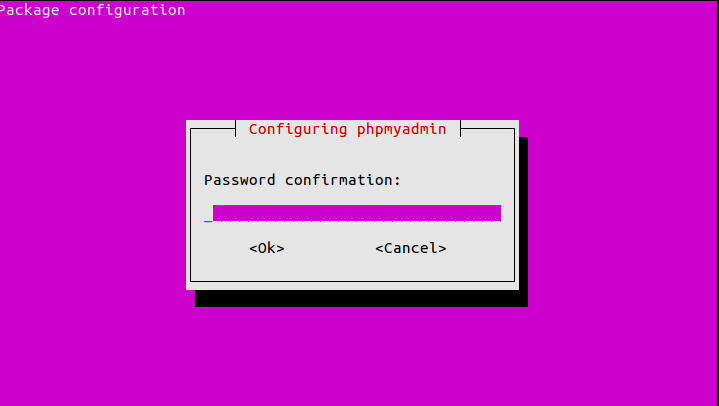
Next, provide a password to access phpMyAdmin & confirm it again on next screen,
Installation will now progress & will be completed.
Accessing phpMyAdmin interface
To access the phpMyAdmin interface, we will have to make an entry to apache configuration file ‘apache2.conf’, open file
$ sudo nano /etc/apache2/apache2.conf
& make the following entry to the file,
Include /etc/phpmyadmin/apache.conf
Save file & exit, than restart the apache service to implement the changes made,
$ sudo systemctl restart apache2
We can now access the interface from the browser with the following URL,
http://localhost/phpmyadmin
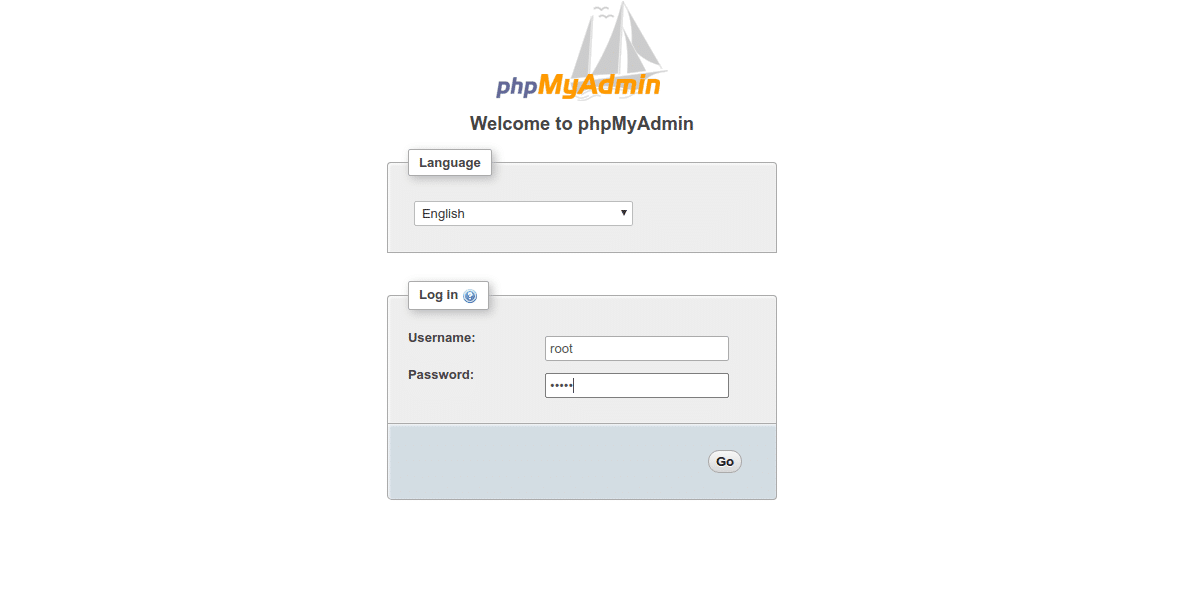
or we can also use the server IP address in place of localhost, if accessing from a remote machine, When we access the URL it will ask for credentials, use ‘root’ as username & use the password that we provided during the time of installation,
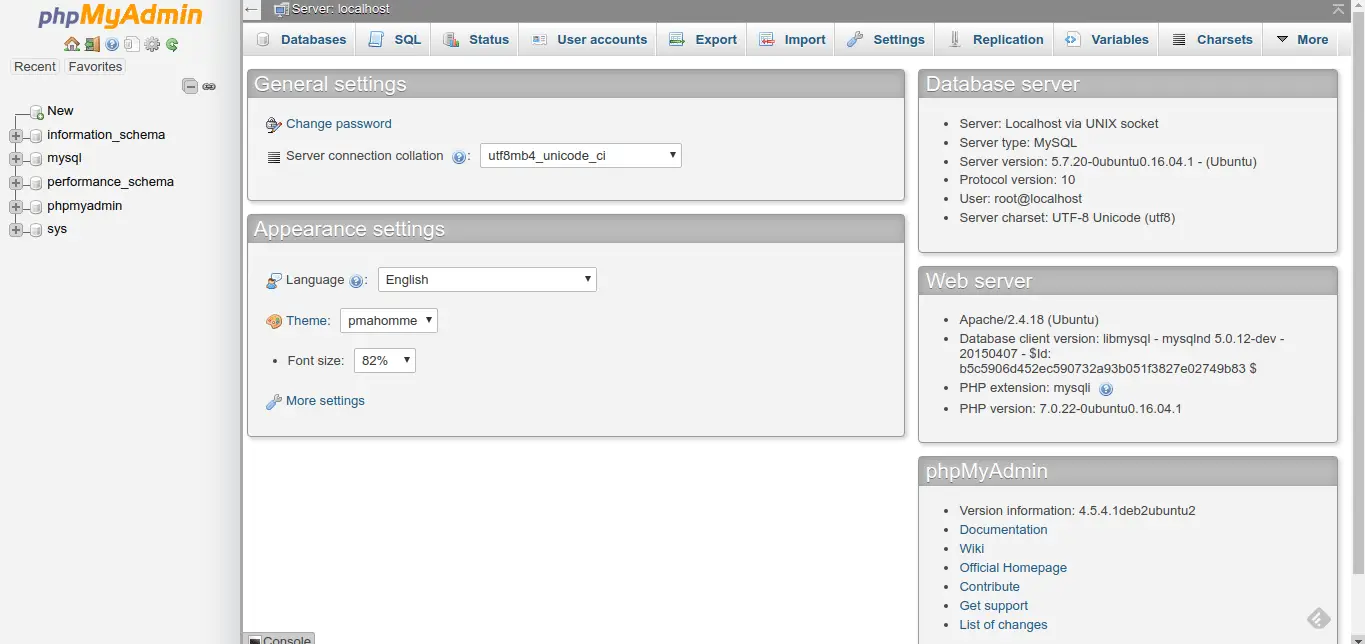
After successful authentication, we can now access the phpMyAdmin interface & use it to administer the databases.
Securing phpMyAdmin
With the kind of functionalities that phpMyAdmin provides, it is one of the most targeted service on internet. So it is essential to secure it, otherwise we might loose important data.
First thing we should do secure phpMyAdmin is that we need to use SSL certificate to encrypt all website communication. If you need help in securing website with an SSL certificate, refer to following articles Secure your website with SSL sha2 certificate, Learn to create SSL Certificate for Apache Server.
Second thing, we can do secure phpMyAdmin is to make it accessible from one or limited number of IP address/location. Suppose we have only one location which uses phpMyAdmin to administer databases, so we should allow access to only that site.
In order to do that we will make the following entry to ‘.htaccess’ file (located at the root of the website directory)
Order Allow,Deny
Deny from All
Allow from 123.45.67.89
where 123.45.67.89 is the public ip address for the network we need access from. Now restart the apache service , after which phpMyAdmin interface will only be accessible from mentioned IP address & will be blocked to rest.
With this we end our tutorial on how to install phpMyAdmin on Ubuntu, please feel free to mention your queries/questions in the comment box below.
If you think we have helped you or just want to support us, please consider these :-
Connect to us: Facebook | Twitter | Google Plus
Donate us some of you hard earned money: [paypal-donation]
Linux TechLab is thankful for your continued support.