
Learn how to install plugins in the Jenkins server using 3 different methods. Jenkins is an open-source build automation software that helps us in automating the non-human part of the software development cycle. Jenkins can be used as a Continuous Integration server or we can also use it as a Continuous Delivery center for any project.
Jenkins in its default self provides functionalities that are useful but these functionalities can be further improved upon & also new functionalities can be added to Jenkins using its extensive libraries of plugins.
In this tutorial, we will learn 3 different ways with which we can install plugins on the Jenkins server. But before starting, I would recommend that you also read our other tutorials on Jenkins, links are mentioned below,
1- Install JENKINS on CentOS/RHEL 7
2- Simple way to change the home directory of Jenkins Server
3- How to install Jenkins on Tomcat: Complete Guide
Install Plugins on Jenkins
First way
The first way to install plugins on Jenkins is also the easiest & most used way for plugin installation. For this method, we need to login to our Jenkins server, once we are in click on the ‘Manage Jenkins’ tab located on the left side of the screen,
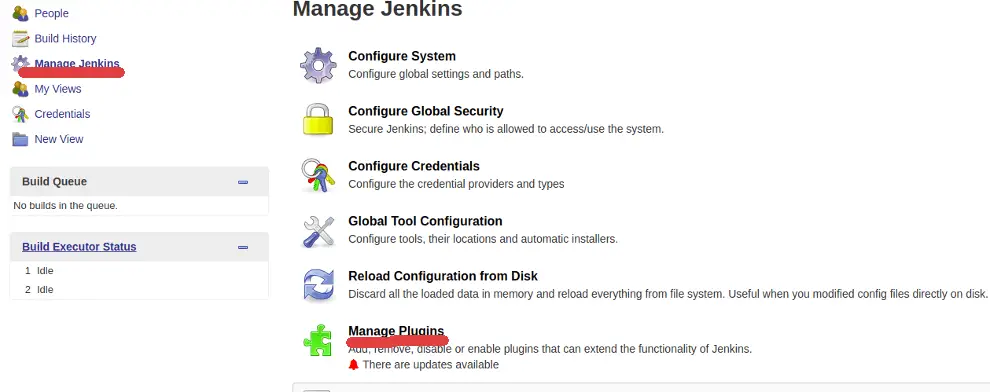
Then we need to select ‘Manage Plugins’. Now select the tab that says ‘Available’
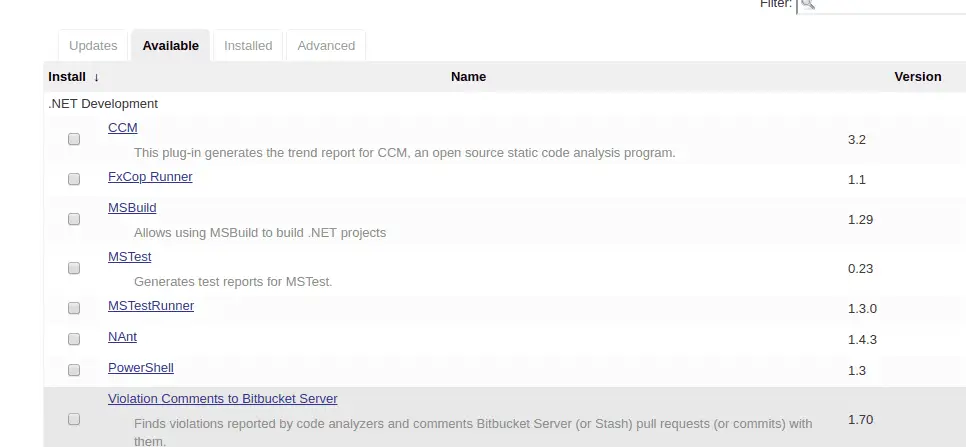
& enter the name of plugins on the search bar.
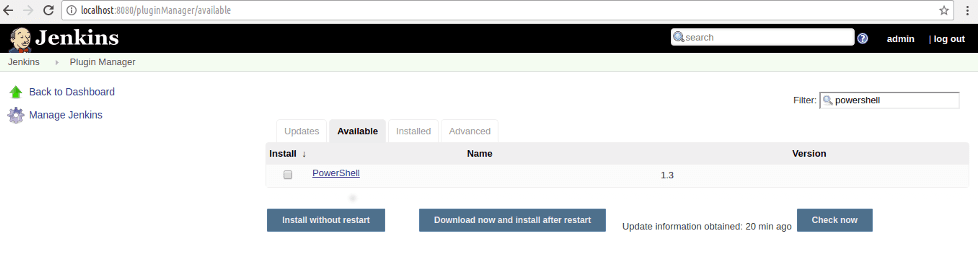
Once the plugin has been located select the plugin & click on ‘Install without Restart’ & that should install the plugin on your Jenkins server.
Second way
The second method to install Jenkins is very similar to the first way, with the exception that we will upload the plugin file on the Jenkins server. I will take an example of the PowerShell plugin for Jenkins.
You can download the latest PowerShell plugin from this location (http://updates.jenkins-ci.org/download/plugins/powershell/1.3/powershell.hpi). The plugin will have .hpi extension, now login to Jenkins server, then ‘Manage Jenkins’, then to ‘Manage Plugins’ & select ‘Advanced tab’, there we will see the option to ‘Upload Plugins’,
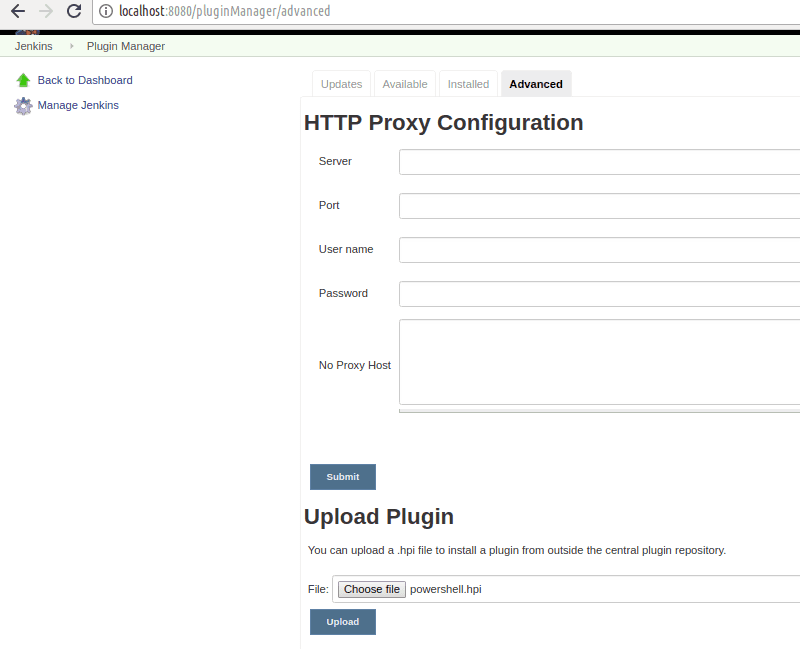
Once the plugin has been selected, click on ‘Upload’ to install the plugin.
Third Way
The third way to install plugins on Jenkins requires us to manually copy the downloaded plugins file to the ‘JENKINS_HOME/plugins’ folder.
So if you have Jenkins installed in the ‘/var/lib/Jenkins’ directory, then copy the downloaded plugins file to the ‘/var/lib/jenkins/plugins’ folder. & then restart the Jenkins server, either from the terminal using the following command,
$ sudo systemctl restart jenkins
or from the browser with the following URL,
http://localhost:8080/restart
Replace localhost with the IP address of the server. Once Jenkins has restarted, you can check the installed plugin via the ‘Manage Plugins’ screen.
That’s it, this was our tutorial on how to install plugins on Jenkins using three different methods. Please feel free to send in any questions or queries using the comment box below.
Wonderful start up for jenkins learner. Thanks for explaining how to install Jenkins with easily steps.
2 and 3 options links is not able to open.Please look in to this.
Which links are you referring to ?
Can you automatically install plugins from a server with a specified port to the same port but with another port using a .hpi? (First is a build server and when is the build is succesfuly done, then automatically will install into second server the plugin)
Not sure i understand what you mean but yes you can take plugins files from one server & install on another.