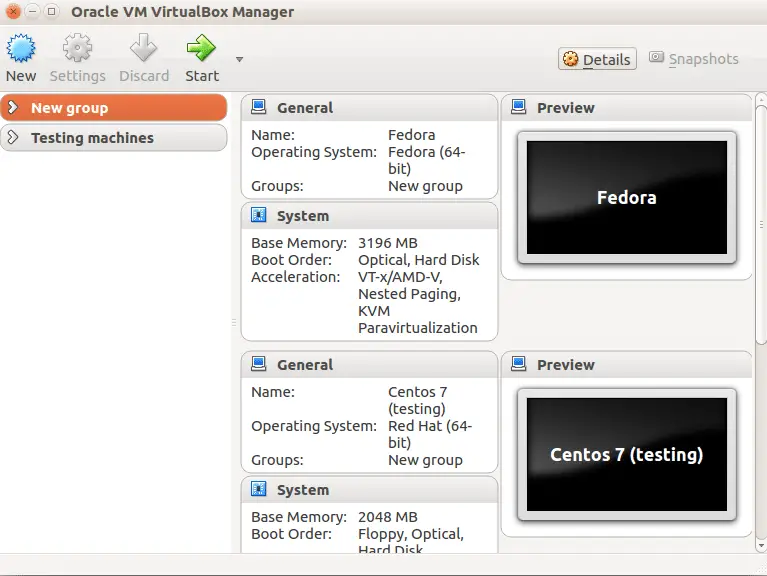
VirtualBox is a free and open-source, general purpose full hypervisor created for x86 bit architecture computers. It is available for installation on a number of operating systems, like Windows, Linux, Mac, Solaris etc.
We can use VirtualBox to install & use operating over the currently installed OS i.e. it can load a number of OS over the currently installed one. We can than start, pause or shutdown the installed OS with VirtualBox.
It supports both software as well as hardware based visualization ( for 64 bit support).
In this tutorial, we will learn to install VirtualBox on linux machines ( CentOS & Ubuntu).
( Recommended Read : Virtualization in CentOS/RHEL: Installing KVM )
Pre-requisite
Before we discuss how to virtualbox on linux, we will discuss some pre-requisites needed for virtualbox,
For CentOS/RHEL
We need to have EPEL repository enabled,
RHEL/CentOS 7
$ sudo rpm -Uvh https://dl.fedoraproject.org/pub/epel/7/x86_64/Packages/e/epel-release-7-11.noarch.rpm
RHEL/CentOS 6 (64 Bit)
$ sudo rpm -Uvh http://download.fedoraproject.org/pub/epel/6/x86_64/epel-release-6-8.noarch.rpm
RHEL/CentOS 6 (32 Bit)
$ sudo rpm -Uvh http://dl.fedoraproject.org/pub/epel/6/i386/epel-release-6-8.noarch.rpm
Installation on CentOS/RHEL
To install VirtualBox, we need to add the VirtualBox official repository on our system. Execute the following command to install the VirtualBox repository,
$ cd /etc/yum.repos.d
$ wget http://download.virtualbox.org/virtualbox/rpm/rhel/virtualbox.repo
VirtualBox installation requires building of the Kernel modules. So before we move ahead with the virtualbox installation, we will install the DKMS package along with some other development tools from EPEL repository ,
$ sudo yum –enablerepo=epel install dkms binutils gcc make patch libgomp glibc-headers glibc-devel kernel-headers kernel-devel
& for PAE kernel users, we need to install following packages
$ sudo yum install binutils gcc make patch libgomp glibc-headers glibc-devel kernel-headers kernel-PAE-devel dkms
Now we will install the VirtualBox with the following command,
$ sudo yum install VirtualBox-5.1
Upon execution of the command, VirtualBox will be installed on our system & it will also create 'vboxusers' group. We will now add a user to that group,
$ sudo usermod -a -G vboxusers test_user
Our VirtualBox installation is now ready to be used. To start it, either open it through GUI menu or open terminal & execute the following command,
$ virtualbox &
We now need to rebuild our kernel, to do that execute the following command,
For CentOS/RHEL 7
/usr/lib/virtualbox/vboxdrv.sh setup
For CentOS/RHEL 5 & 6
/etc/init.d/vboxdrv setup
Important Note:- We might need to setup the 'KERN_DIR' variable. Run the following command to set the 'KERN_DIR' variable on the system,
KERN_DIR=/usr/src/kernels/`uname -r`-`uname -m`
export KERN_DIR
These should resolve any problem that you might be facing with kernel on VirtuaBox..
( Also Read : Managing KVM based Virtual machines : Using CLI )
Installation on Ubuntu
VirtualBox is available with the default repositories on Ubuntu 16.04 & can be installed using the command,
$ sudo apt-get install virtualbox
Or you can also get the latest deb packages from Official VirtualBox Page. Once you have the right package install it using dpkg,
$ sudo dpkg -i virtualbox-5.1_5.1.28-117968~Ubuntu~xenial_amd64.deb
Replace virtualbox-5.1_5.1.28-117968~Ubuntu~xenial_amd64.deb with the package name that you have downloaded. After the package has been installed, start the virtualbox from menu or from the terminal.
$ virtualbox &

Please do leave your queries or comments in the comment box below.
If you think we have helped you or just want to support us, please consider these :-
Connect to us: Facebook | Twitter | Google Plus
Donate us some of you hard earned money: [paypal-donation]
Linux TechLab is thankful for your continued support.
