Do you want to recover a damaged/corrupted SQL Server database on Linux? This article explains in detail how to restore a corrupt SQL database on Linux from the backup and by using a professional SQL recovery tool.
Method 1 – Restore SQL Server Database on Linux Manually
Note: If you haven’t created a backup of the SQL Server database, skip to method 2.
Here we will be explaining the steps to restore a database named “TestDB” from backup on Linux-based SQL Server.
Step 1: Connect to the SQL Server instance on Linux where you want to restore the database backup. For this, execute the following sqlcmd:
| #Make a db connection to your server. Enter the sa password once you get the prompt.
sqlcmd -S localhost -U SA –Q |
Here the command is establishing a connection to the server.
Step 2: After connecting to the server, execute the below RESTORE command to restore the “TestDB” database:
| RESTORE DATABASE TestDB FROM DISK = N'/var/opt/mssql/data/TestDB.bak' WITH FILE = 1, NOUNLOAD, REPLACE, NORECOVERY, STATS = 5" |
In this command, data is the directory under /var/opt/mssql where the “TestDB” backup file is saved.
Note: Avoid using the NORECOVERY option if you do not want to perform additional restores of your log file backups.
Running the above command will restore the database. To ensure that the database is restored, you can run the below command:
| SELECT name from sysdatabases |
Method 2 – Use SQL Recovery Tool to Restore Database
You can use a SQL database recovery tool to repair the corrupted database and restore it on a Linux system. Stellar Repair for MS SQL - Linux is one such tool that can easily repair and restore the corrupt database. The software also allows to preview restored database objects before saving the repaired file. The software supports CentOS 7, Red Hat Enterprise Linux 7, and Ubuntu 16.04/18.04/19.10.
The steps to restore corrupt SQL database using the software are as follows:
Step 1: Download the software.

Step 2: Once the download is complete, install and launch the software.
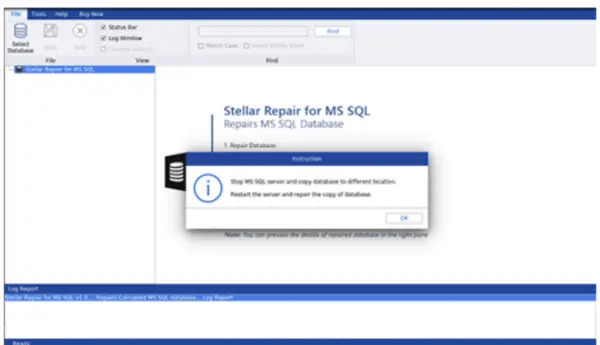
Step 3: The software user interface screen opens with an Instruction message window. Click OK to proceed.
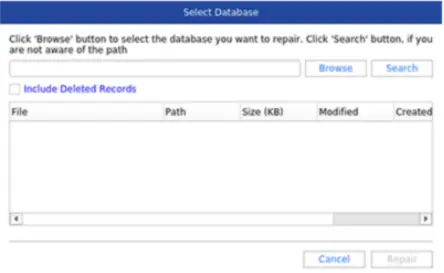
Step 4: Browse and select the SQL database (MDF) file you want to repair. You can also use the Search option to find the database file if its path is unknown.
Note: If you want to restore any deleted records, ensure that the ‘Include Deleted Records’ checkbox is checked.
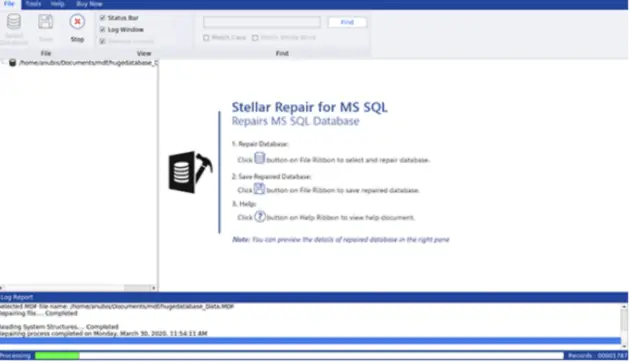
Step 5: After selecting the file, click Repair. The software starts repairing the selected file and displays progress of the repair process.
Step 6: A message box with ‘Repair Complete’ appears.
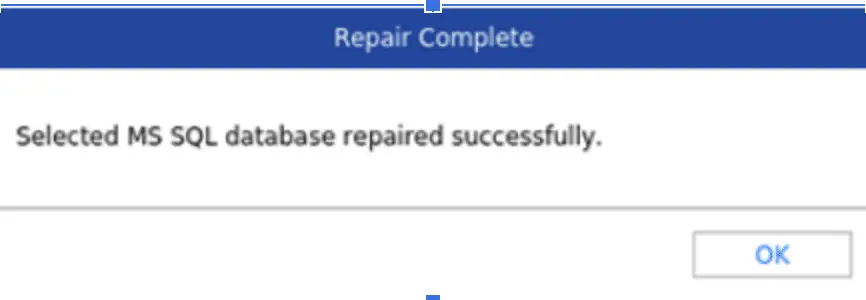
Step 7: Click OK and a preview window opens with the restored objects. You can select all or specific objects you want to save in the repaired file and then click Save on the File menu.

Step 8: In the dialog box that appears, do the following:
- Choose MDF under Save As.
- Select a New Database or a Live (Existing) Database option to save the repaired file.
- Enter the details to connect to your SQL Server.
- Choose the location to save the repaired file.
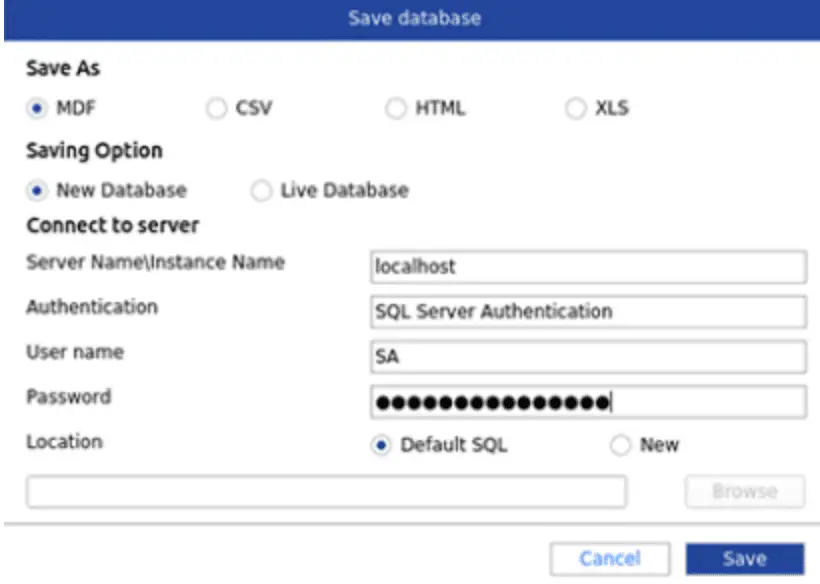
Step 9: Click Save and the software will start saving the repaired database file. On completion of the save process, the software will display a ‘Save Complete’ message box.
The repaired file will be saved at the selected (default or new) location.
Conclusion
If your SQL database on a Linux system has become corrupt and inaccessible, you can try to restore the database manually from backup. If there is no backup, a SQL recovery tool can come in handy. The tool can help fix the corrupted database file and restore it on a Linux OS keeping the data intact.
We are giving you exclusive deals to try Linux Servers for free with 100$ credit, check these links to claim your 100$,
DigitalOcean - 100$ free credit & Linode - 100$ free credit
Check some Exclusive Deals, HERE.
Also, check out DevOps Book You should read section.
