Are you looking to create a wordpress website from scratch? Do you want to start blogging & need to host a wordpress website for that but don’t know how to? Worry not. In this tutorial, we will learn the step by step process to create a WordPress website from scratch.
But one can ask why should you create your website on WordPress? There are plenty of other hosting methods to use, so why use WordPress?
Well actually there are plenty other ways to create your website but WordPress is a great choice because of the following reasons,
- It’s free & open-source, which means you can use it however you like it without ever having to pay a dime. Also, maintenance costs are very low.
- Highly customizable. WordPress has hundreds of thousands of themes, plugins available to realize your vision for your website.
- It is easy to use & can be used by Beginners as well as Advances users without any major issues. Most of the users don’t ever use a single line of code on their WordPress website.
- It is very secure to use. There are plenty of plugins to secure your wordpress installations & WordPress receives continuous updates that enhance its security & features.
- Of total websites on the internet, around 35% are said to be using WordPress. That’s a pretty huge number to convince that it is a good website hosting platform choice.
These & plenty of other reasons make it a very viable option to host a website on WordPress.
Now, this blog post is created so it can be used by beginners as well advanced users. But before we start the detailed process, let’s outline the steps needed to create or host a WordPress website,
- Find & register a Domain Name
- Choosing a good Hosting Provider
- Mapping hosting server address to the domain name
- Installing WordPress & Accessing your WordPress Admin Panel
- Installing a good theme
- Make some important changes to the default WordPress installation
- Create your Menus
- Publish some post
Let's now discuss the process in detail, step by step to create a WordPress website from scratch.
Recommended Read: Hostgator Hosting Review: Is Hostgator Good ?
Also Read: CyberGhost: Is it the best VPN for Torrenting, Streaming ?
Create WordPress Website from scratch
1- Find & register a Domain Name
So this domain name is similar to your house address & is the address that allows anyone to access your website. You have complete control over what domain name you pick (unless someone else beats you to it), you can choose whatever name you want.
But to help the website visitors, you should choose a name that allows a user to at least have a rough idea of what this website is about. But then, this is just a suggestion & you can choose any name, relevant or irrelevant to your niche, for your website.
So to find & purchase a domain name of your choosing, you can go to NameCheap (offer cheap 99 cents Domain names) or Domain.com.
But there is another thing, almost all hosting providers are now providing a free domain name on their hosting plans. So you can also opt for that option.
2- Choosing a good Hosting Provider
Choosing a good hosting provider is a factor that you must take seriously as this can assure your website’s success or its failure. There are hundreds of hosting providers on the web & they can be pretty cheap too, but don’t fall into that trap.
We have carefully compiled a list of good hosting providers that you choose from & all these providers are among the leaders in the industry with top of the line service & customer support.
Check the following hosting providers to host your wordpress website,
| Name | URL |
|---|---|
 Hostgator | Check Here |
| Check Here | |
| Check Here | |
 InMotion Hosting | Check Here |
ITheme | Check Here |
These hosting providers provide many affordable hosting plans with top the line hardware, the best uptimes for your websites as well as good customer support & you will get a free Domain name, free SSL for your website with almost all these hosting providers & on most of their plans.
3- Mapping hosting server address to the domain name (DNS Mapping)
Now, this step is not necessary if you have got a free domain or purchased a domain with your hosting plans. DNS mapping for your domain name to your hosting server is done automatically when you have got the domain name from your hosting provider only.
But if you are using an existing domain name or have purchased a domain name separately from your hosting provider, then you need to do this manually.
To do this you would need to access the control panel for the Domain name registrar & you would also need the DNS related information for your hosting provider. You will the DNS information, i.e. either a server IP address or in most cases Nameservers, on your registered email address. Nameservers are your hosting server address, something like,
NS1.test.COM
NS2.test.COM
Login to your DNS registrar & look for an option labeled ‘Manage DNS’ or ‘DNS Zones’ or ‘DNS & Nameservers’ or something similar. There you need to update the existing nameservers to one provided by your hosting provider. Once done save & exit the control panel.
You might need anywhere from 5 minutes to up to 24 hours to be able to access your website with the domain name. Don’t worry, in most cases, it’s done within 5-10 minutes.
4- Installing WordPress & Accessing your WordPress Admin Panel
Based on the hosting company & hosting plan you have chosen, you might get WordPress pre-installed or you might be required to install it. But don’t worry, all of these hosting providers have a single WordPress install available to all their customers & during the installation you might be asked to enter the username & password to access the WordPress admin panel.
Now once you now have a WordPress website installed & available on the internet, you still need to perform some tasks before your website starts looking like any good website on the internet. To do these tasks, you are required to login to the ‘Admin Panel’ of your wordpress website.
Url to access the WordPress admin panel is usually,
http://your-website-name/wp-admin
Url to access WordPress admin panel could also be,
http://your-website-name/admin/
http://your-website-name/login/
You would also get this URL at the time of WordPress installation. Now you are required to enter the username & password for the admin panel.
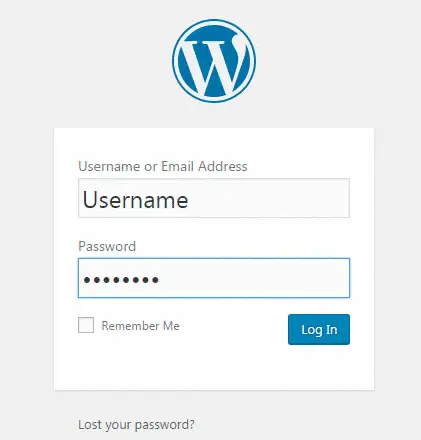
Once logged in, you will get the Admin menu page,
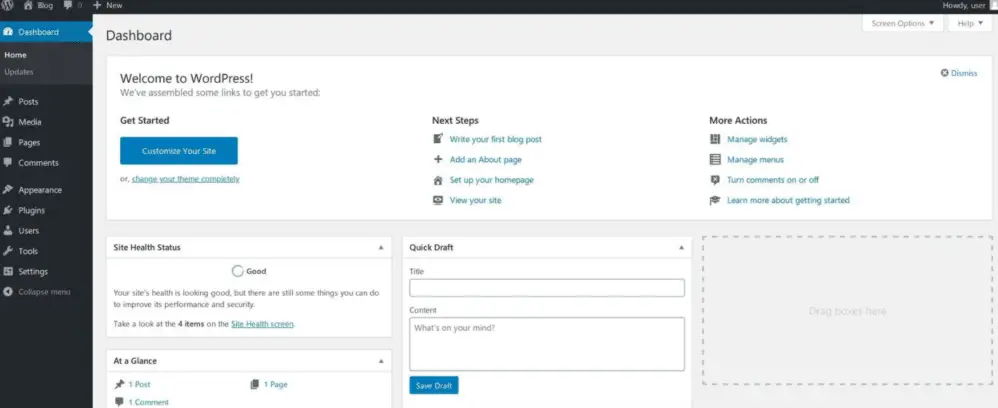
This is where all the action happens, you would need to familiarize yourselves with all the options/items available here. Because here only will you publish your posts, or change your website themes or you install plugins, etc.
5- Installing a good theme
This part defines how actually your website will look & feel like. WordPress has thousands of themes available, both Free & Paid. While free themes are enough for most but it also means that if you want to customize it specifically to your needs, then you will have to look for research & make changes yourselves.
With paid themes, you will have the advantage of premium customer support & moreover by default they provide a lot of features that will handle most of your customization needs. I recommend that you at least check ENVATO, as it is the marketplace for the best WordPress themes & Plugins.
So to install a theme, go to ‘Appearance’ --> ‘Themes’.
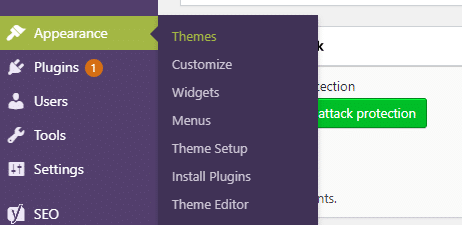
On the next page, you will see the current themes that you have installed by default, on top of that page will be an option ‘Add New’, click that & you will see the following page,
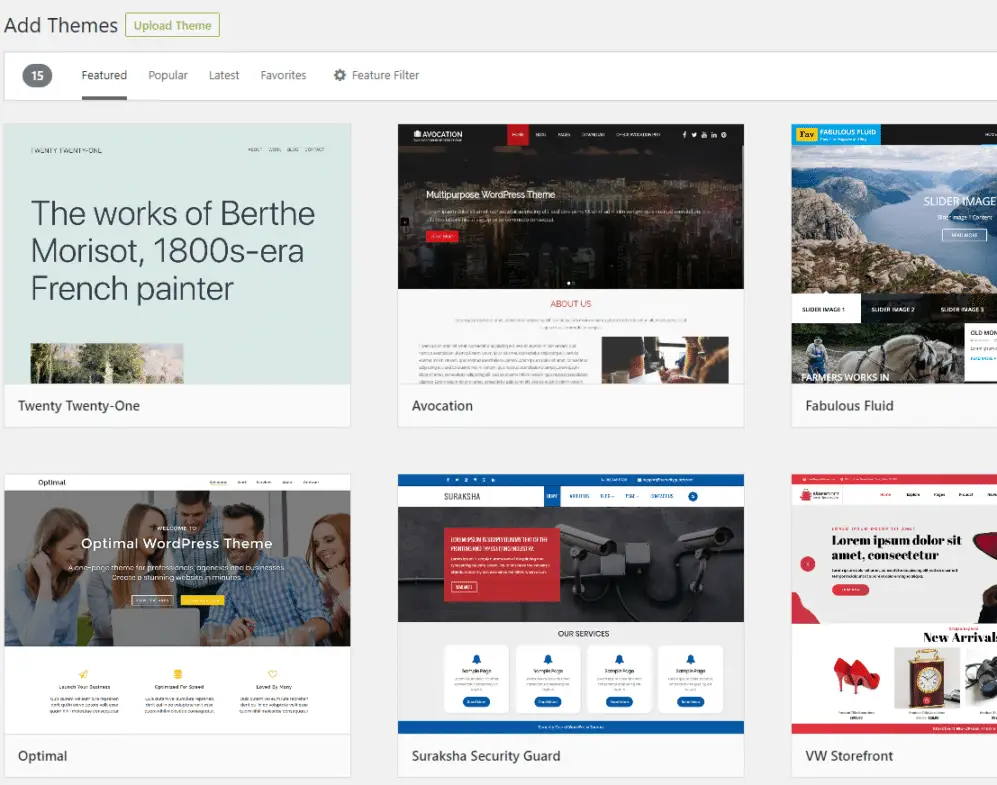
Here you search for the free themes or if you have purchased a theme then you can also upload that theme with the option ‘Upload Theme’ on the top of the page. Once the theme has been installed, click on ‘Activate’ to activate that theme.
Once your theme is installed, you can now customize it by going into ‘Appearance’ ---> ‘Customize’. During theme customization, you would be able to Live Preview your website without actually having to apply any changes. & once you think that you like what you see, then just click on ‘Publish’ at top of the page to implement changes for your website.
Next, comes the aspect of integrating web accessibility tools for disabled, apart from theme customization, in order to make your site increasingly accessible to all kinds of people with physical and vision-related disabilities. In this way, you widen your scope of getting more visitors, and convert them into customers. So, you need to hire the services of a specialist like “Accessibility Spark” for a web accessibility audit and thereafter, an app setup.
6- Make some important changes to the default WordPress installation
Now the next step would be to update some default WordPress installation settings that are actually not recommended. These settings are-
- Setting Websites Title & Description - This can be done by going to ‘Settings’ → ‘General’. There you shall see Title & Description fields, just fill those up & click on ‘Save Changes’ at the bottom of the page.
- Make the Website Public - Under ‘Settings’ → ‘Readings’, you will have an option ‘Discourage search engines from indexing this site’, make sure that it is unchecked.
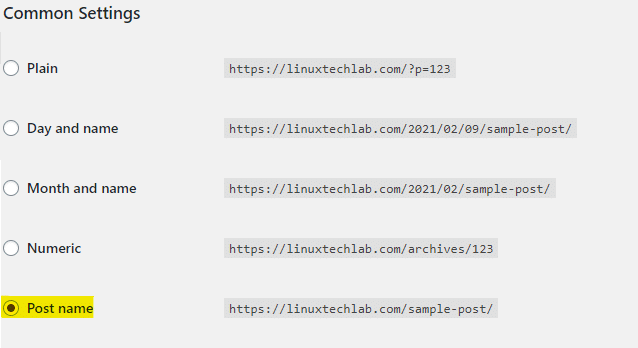
- Setting Permalinks for the website - Permalinks are how your website links look. It can be found under ‘Settings’ → ‘Permalinks’ & see the screenshot below to select the one that selected there,
These are only some of the things that we should do after installing WordPress, we will be publishing a detailed tutorial on things you should do after installing WordPress. So watch out for detailed instructions tutorial.
7- Creating the Menus
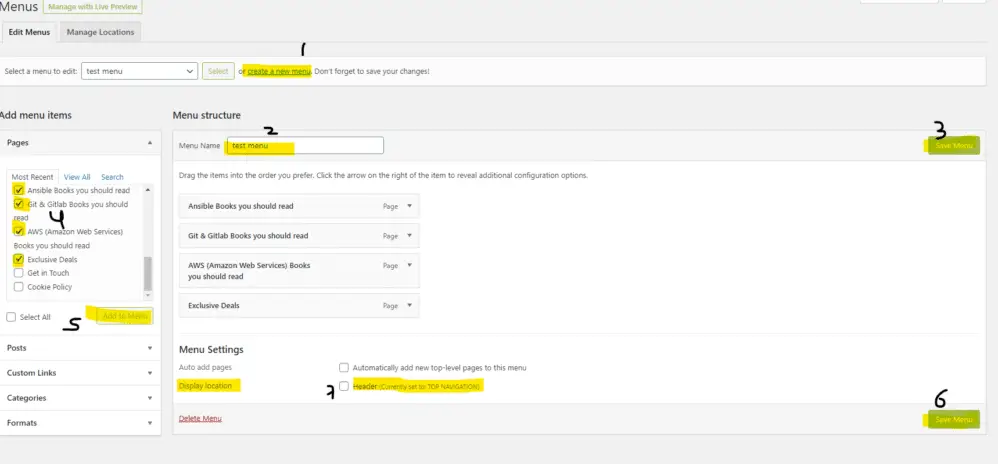
Menus on your website are how the users will navigate various posts or categories on your website. To create a menu, go to ‘Appearance’ → ‘Menus’, now to create a new menu,
- Click on Create a new menu,
- Then mention the new menu name & click on ‘Save Menu’,
- Next on the Left-hand side, you will see all the Pages, Posts & Categories that are currently available for your Website, choose the ones you want in your menu & click on ‘Add to Menu’
- Once all the required items are added to Menu, click on ‘Save Menu’ at the bottom of the page,
- & as the last step, select the display location for the Menu.
Please see the screenshot below for reference,
8- Publish some Posts/Pages
You now have a website that is ready for you to publish some content on, you can either start by creating a new Page or add some Posts. You should add some common pages like ‘Contact Us’, ‘Privacy Policy’, ‘About’ page, etc.
Hope this article will help you with setting up your website, if you are finding it difficult or are overwhelmed by things to do in order to create your WordPress Website, then we can help with that. Just connect to us by sending an email to admin@linuxtechlab.com.
One last thing, we are affiliate marketers for the products mentioned on this page, but that does not mean they are not good products, they are definitely the best of best & also the commissions that we get for promoting these products does not come out of your payments, in fact, it's the other way around i.e. we have negotiated some exclusive discounts that you would not get otherwise when buying from the links mentioned in this article.
Also, if you need to hire the services of a specialist like “Accessibility Spark” for a web accessibility audit and thereafter, an app setup. Else, you can choose the services of yet another expert like “XCompliant” for achieving disability compliance for websites, as they’ve a team of professionals, dedicated for ensuring ADA site compliance for miscellaneous clientele across the US. It is now 100% mandatory for all US web owners to install an ADA compliant website WordPress plugin for making a site accessible to all, including physically challenged and visually impaired users.
With this, we now end our step by step tutorial on how to create your WordPress Website from scratch. If you did like this article, spread the word. Please do share this article wherever however you can
We are giving you exclusive deals to try Linux Servers for free with 100$ credit, check these links to claim your 100$,
DigitalOcean - 100$ free credit & Linode - 100$ free credit
Check some Exclusive Deals, HERE.
Also, check out DevOps Book You should read section.
Great information! thank you very much.