
Gitlab is web GUI based manager for git repositories with support for CI\CD, issue tracking & wiki. Gitlab provides easy to use commands & controls for the git repositories, we can easily create new git repositories, manage them & all that using a nice graphical interface. With Gitlab, we can make our repositories completely private or can also allow public access over LAN or over internet.
There are two versions of Gitlab currently available,
1- Gitlab CE ( Community Edition ) This is the free version without any licensing fees.
2- Gitlab EE (Enterprise Edition) This follows a fee per user pay model.
Enterprise edition for Gitlab provides some great features over community edition but the features provided by community edition should be enough to get us started, especially when Gitlab is being accessed over local area network.
In this tutorial, we will learn to install the Gitlab Community Edition on CentOS 6, 7 & on Ubuntu 16.04 machines. We will now start the installation procedure by discussing the pre-requisites for Gitlab.
(Recommended Read : How to install GIT on Linux )
(Recommended Read : Complete “Beginners to PRO” guide for GIT commands )
Pre-Requisites
1 – For CentOS machines, first thing we need to have installed on our machines is EPEL repository. EPEL repository is required as Gitlab has some package dependencies that are available on EPEL repository.
To install EPEL repository, use the following command based on your OS & Architecture,
RHEL/CentOS 7
$ rpm -Uvh https://dl.fedoraproject.org/pub/epel/7/x86_64/Packages/e/epel-release-7-11.noarch.rpm
RHEL/CentOS 6 (64 Bit)
$ rpm -Uvh http://download.fedoraproject.org/pub/epel/6/x86_64/epel-release-6-8.noarch.rpm
RHEL/CentOS 6 (32 Bit)
$ rpm -Uvh http://dl.fedoraproject.org/pub/epel/6/i386/epel-release-6-8.noarch.rpm
2 - We also requires some other packages like Curl, OpenSSH etc on our CentOS machines, install all these package with following command,
$ sudo yum install -y curl policycoreutils-python openssh-server
For Ubuntu machines, install the required packages with the following command,
$ sudo apt-get install -y curl openssh-server ca-certificates
3- We can leave this step if we are planning to use an external email account like Gmail or Amazon SES, Mailgun etc (will disscuss the SMTP configurations for various services in the future tutorials), if not than proceed.
We will now install Postfix on our machines, Gitlab will use postfix to send notifications emails. To install Postfix on CentOS machines, execute the following command,
$ sudo yum install -y postfix
& on Ubuntu machines, run the following command,
$ sudo apt-get install postfix
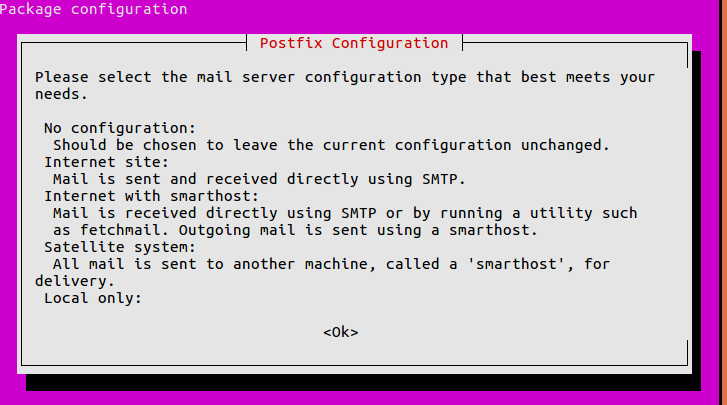
During postfix installation, you will be asked to configure it. On the initials screen , scroll down to the bottom using arrow keys & press OK,
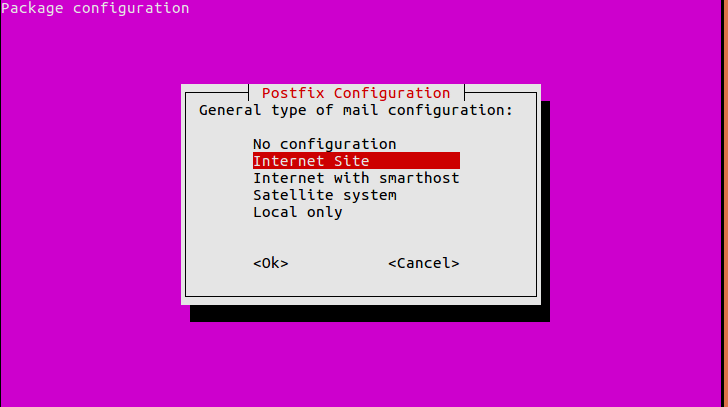
On next screen, select ‘Internet Site’,
& enter you mail server details or you can also use external DNS for ‘mail name’ .
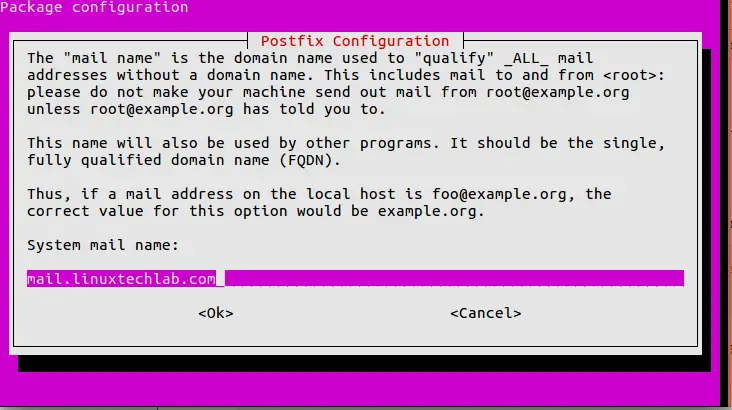
To setup a complete Mail server, refer to out article “Complete guide for setting up a mail server using Postfix, Dovecot & SquirrelMail ”
Gitlab installation on Ubuntu
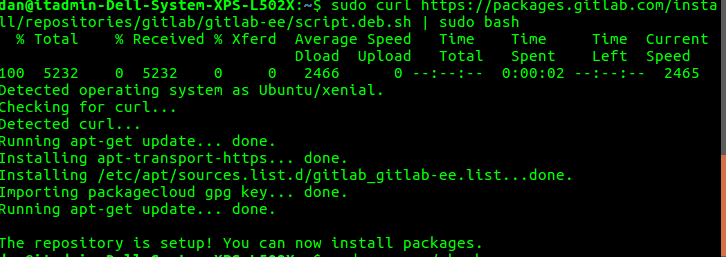
We will now install Gitlab on Ubuntu machines using the official Gitlab repositories. We don’t need to manually add any repositories, rather we can use a script to install the repositories automatically. Execute the following command to install the repositories,
$ sudo curl https://packages.gitlab.com/install/repositories/gitlab/gitlab-ce/script.deb.sh | sudo bash
Next install Gitlab CE using the following command,
$ sudo EXTERNAL_URL="http://gitlab.local.com" apt-get install gitlab-ce
Here, you can replace “http://gitlab.local.com” to an URL that you want to access Gitlab with, but make sure that it’s sort of unique otherwise it might create problem for you while accessing internet. Once this command has been executed successfully, Gitlab CE would be installed on our machines.
Now let’s discuss Gitlab CE installation for CentOS machines.
Gitlab installation on CentOS systems
Just like we did with Ubuntu installation, we will first add the official Gitlab repositories using a script. Execute the following command in your terminal to add the repos,
$ sudo curl https://packages.gitlab.com/install/repositories/gitlab/gitlab-ce/script.rpm.sh | sudo bash
Next install Gitlab CE with the following command,
$ sudo sudo EXTERNAL_URL="http://gitlab.local.com" yum install -y gitlab-ce
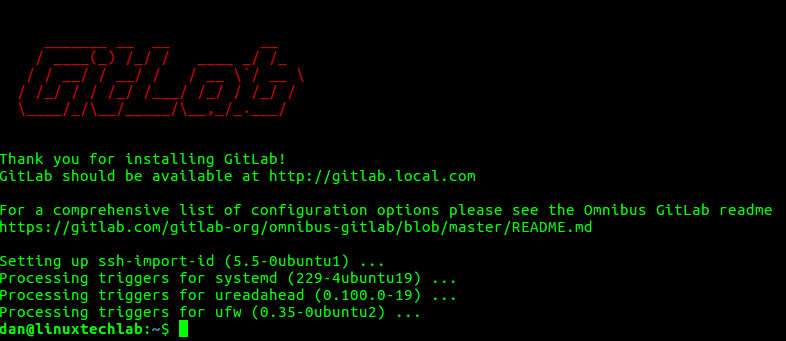
installation takes some time. After the Gitlab has been installed, we can now access the web console.
Accessing Gitlab
With the URL that we have mentioned during the Gitlab installation, we can access the web console. Open a web browser & enter the URL (you can also use localhost or 127.0.0.1, when accessing from same system),
http://gitlab.local.com
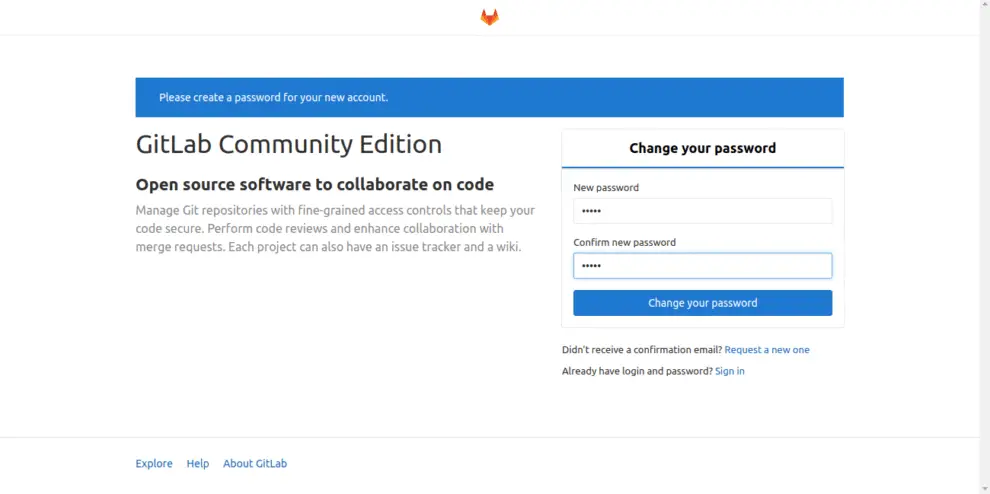
When time when you visit the URL, we will be redirected to a password reset screen. Provide a password of your choosing (minimum 8 letters),
& we will than be redirected back to login page, login using ‘root’ as username & use the same password that we chose. Once authenticated, we can see the Gitlab web console,
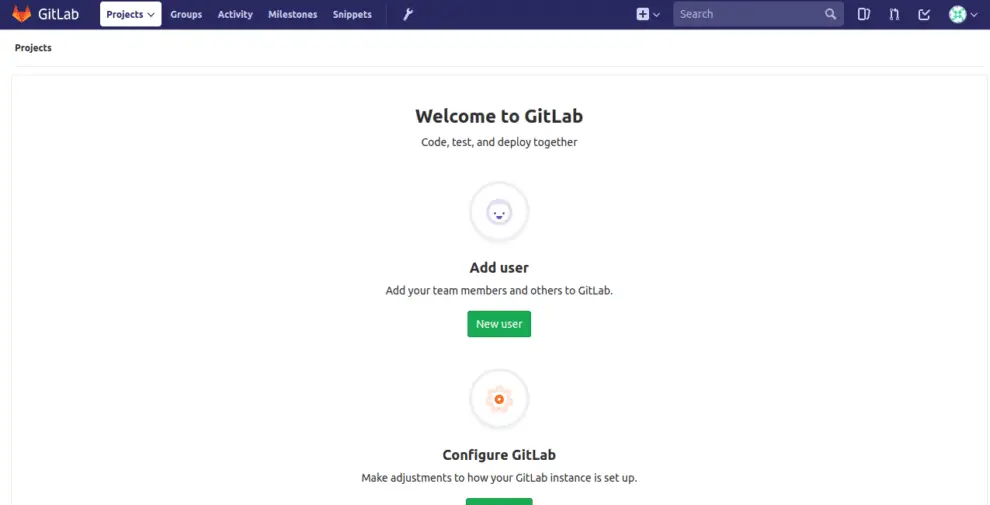
you can now create new projects, add new users & make adjustment to GitLab as per your needs.
In out future, we will bring you some more articles regarding Git & Gitlab. If facing any issues in following this tutorial or have some other query, please do leave them in the comment box below.
If you think we have helped you or just want to support us, please consider these :-
Connect to us: Facebook | Twitter | Google Plus
Donate us some of you hard earned money: [paypal-donation]
Linux TechLab is thankful for your continued support.
hello, i can’t reconfigure gitlab show a lot of error 🙁
What errors are you getting ?