Ubuntu is & has been a good choice for people who use want a stable Desktop Linux distribution, & it’s also a good choice of Linux distribution that can also be used as server OS.
Ubuntu 18.04 codenamed Bionic Beaver was released recently with a lot changes from previous Ubuntu versions. Many major changes/features that were introduced with Ubuntu 18.04 are,
– Gnome as been made as default Desktop environment,
– faster booting up times,
– updates kernel version,
– Newly introduced minimal installation option,
– New installer for Ubuntu Server,
– OpenJDK 10 as default java version,
– Support for color emojis
– Updates versions of many installed softwares like LibreOffice, Calender, SystemLog etc
In this tutorial, we will learn to install Ubuntu 18.04 step by step with the help of some screen shots.
Recommended Read: Package management in Ubuntu : Learn dpkg command with examples
Also Read: Things to do after installing Ubuntu
Install Ubuntu 18.04
Start by downloading the ISO file for Ubuntu 18.04, which can be found HERE (http://releases.ubuntu.com/18.04/) After you have downloaded the image you can create a bootable flashdrive or can also burn the image to a DVD. For creating a bootable Linux flashdrive using Ubuntu, please refer to our article ‘Step by step guide to create a bootable Linux Flashdrive’.
After we have created bootable flash drive, insert the Flashdrive or DVD onto your Desktop/Laptop & boot up system using the attached device. It will take some time for Ubuntu to boot up,
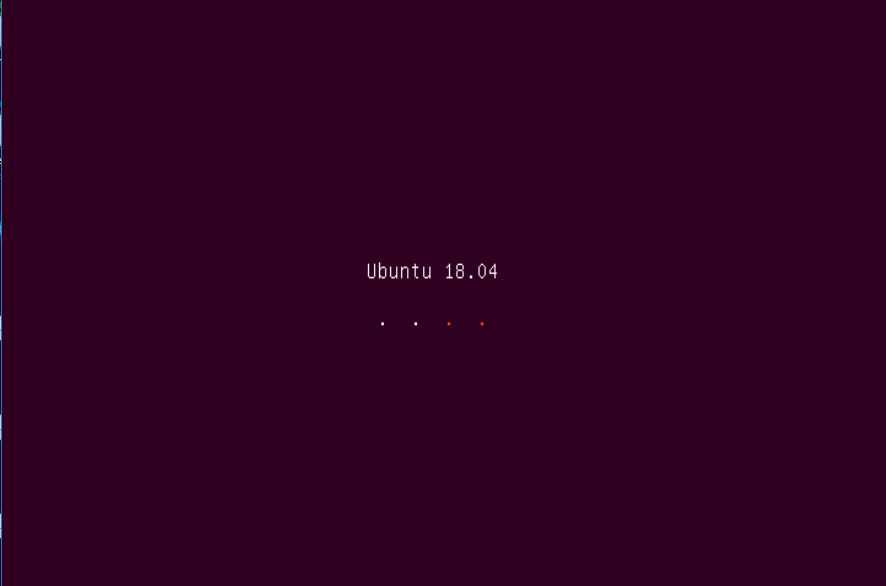
Once the Ubuntu has been booted up, you should get the following screen with two options ‘Try Ubuntu’ & ‘Install Ubuntu’,

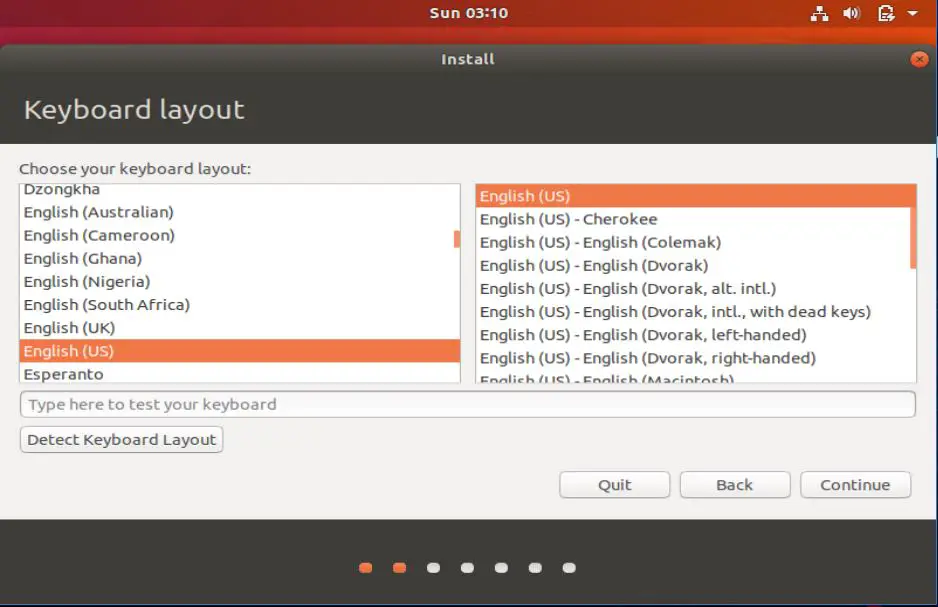
Click on ‘Install Ubuntu’ to proceed forward & on next screen, we need to select the required language for Keyboard layout,
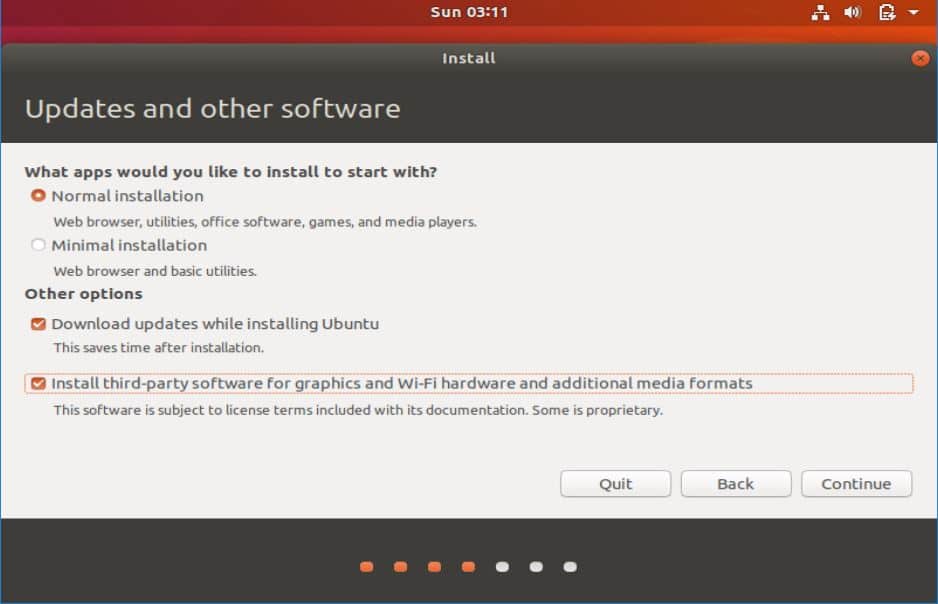
Press Continue after the language selection & on next screen, select the option for installation. We have used ‘Normal Installation’ but we can also select the ‘Minimal Installation’ option , which has been released with Ubuntu 18.04 & installs only a browser & some required apps on the system.
Press ‘Continue’,
Now we need to select how we would like our partition to look like. For our tutorial, we have kept everything at default with partitions created by installer only. We can also select ‘Something Else’ to select a custom partition of the system,
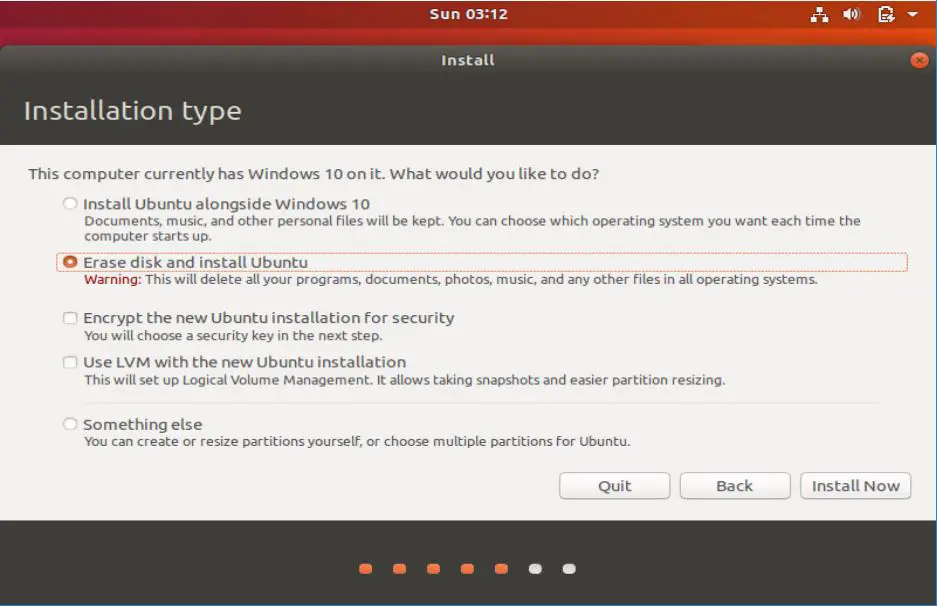
Press ‘Continue’ to create the partition tables & proceed with the installation,
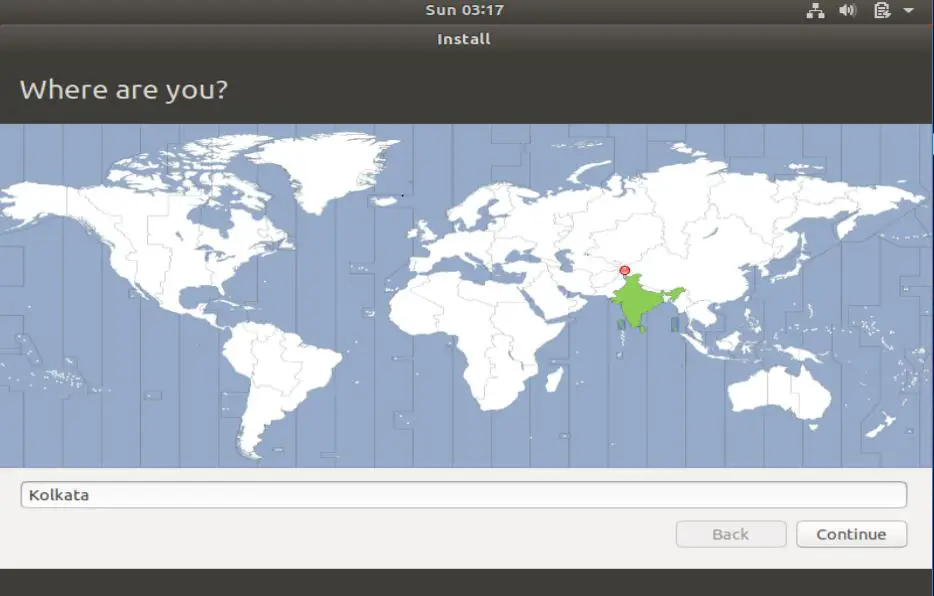
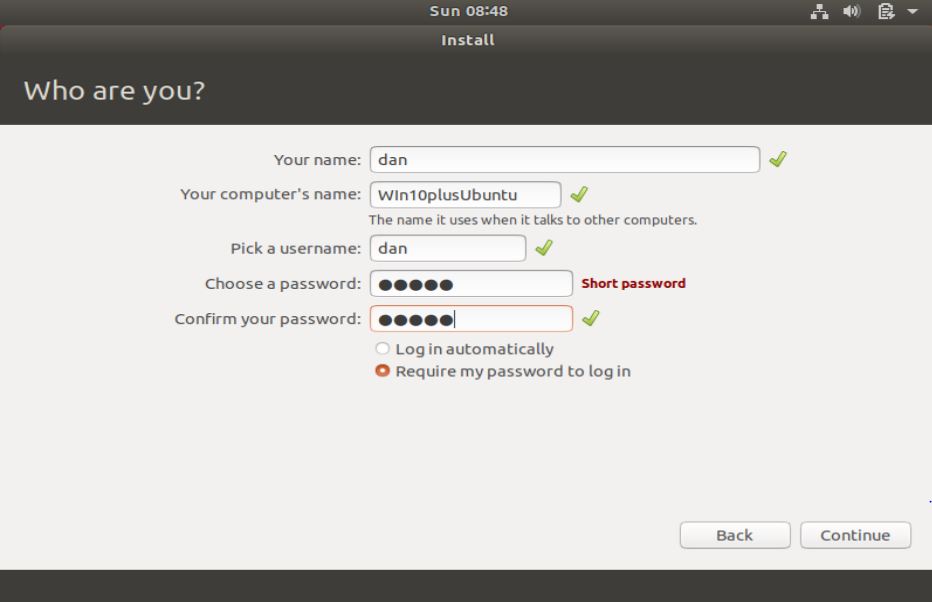
On this screen, select the your region & press ‘Continue’.Next we will be asked to create a user for our system. Mention all the requested details & press ‘Continue’,
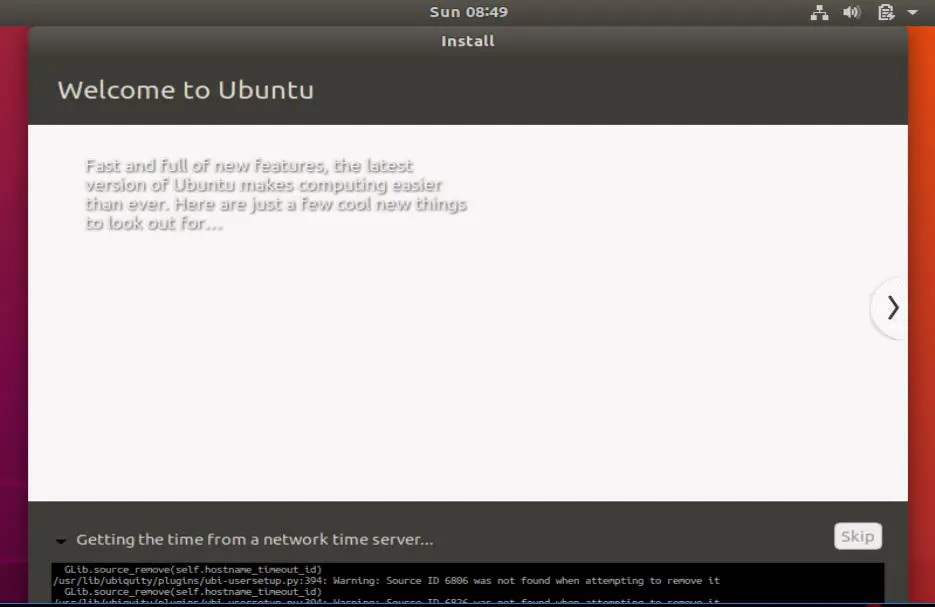
Now the installation procedure will start & it will take about 10-20 minutes based on your system configuration,
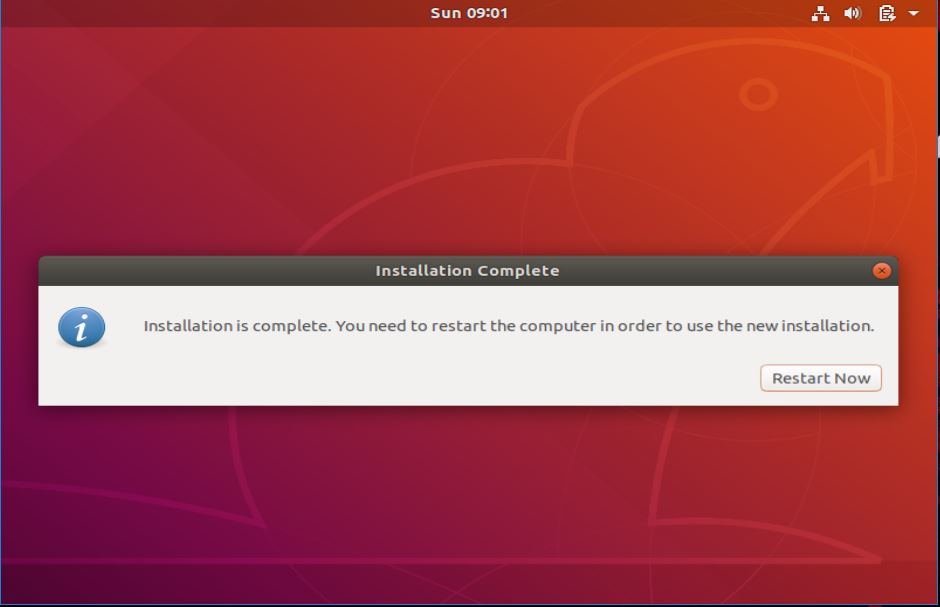
After the installation has been complete, we need to restart our system to complete the installation. Press ‘Restart Now’ to restart the system,
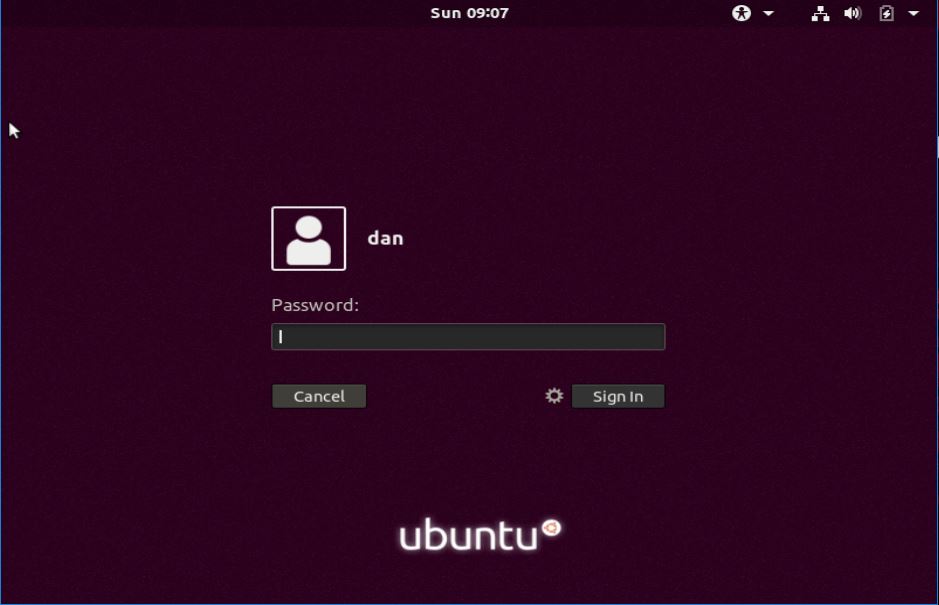
Now when the system boot up, we need enter the credentials for the user that we created earlier during the Ubuntu installation. Enter the user & password to login,
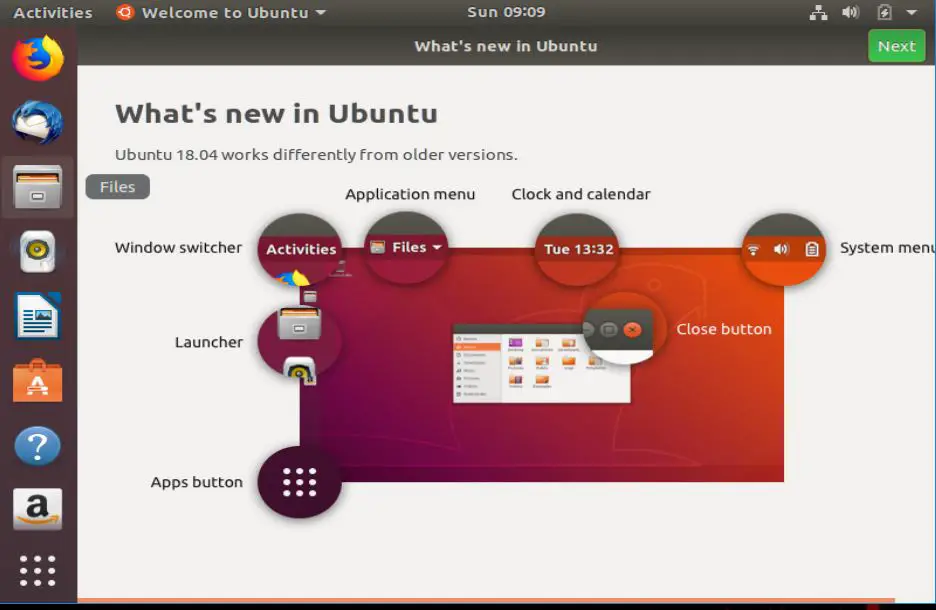
That’s it, we now have newly installed Ubuntu 18.04 on our system. Explore it, use it as you wish.
This completes our tutorial on how install Ubuntu 18.04 from scratch on your system. Feel free to send in your queries or questions using the comment box below.
If you think we have helped you or just want to support us, please consider these :-
Connect to us: Facebook | Twitter | Google Plus
Donate us some of your hard earned money: [paypal-donation]
Linux TechLab is thankful for your continued support.