
Apache Tomcat, also known as Tomcat server is an open source java servlet container & provides a pure JAVA http webserver environment to run java code. It is very famous & widely used to run java based websites around the world. Apache Tomcat software powers numerous large-scale, mission-critical web applications across a diverse range of industries and organisations .
Apache tomcat is availble for various operating systems like Linux, Unix, Windows etc. Apache Tomcat has recently announced the End Of Life for Tomcat 8.0.x versions, though this will not affect the 8.5.x versions.
In this tutorial, we will discuss Apache Tomcat installation for v8.5, as it's the latest stable version (v9 is also available but that's still in BETA & currently has no stable release).
(Recommended Read: Step by step guide for WILDFLY 10.1.0 installation )
Pre-requisites
- To install Tomcat 8.5, we will require JAVA 7 or later version. So firstly we need to install and setup JAVA on our system. You can install JAVA with the following commands,
CentOS/RHEL
$ sudo yum install java-1.8.0
Ubuntu/Debian
$ sudo apt-get install openjdk-8*
Refer to our detailed article on 'How to install JAVA 7 & 8 on Linux ' for more information.
Apache Tomcat installation
For Apache Tomcat installation, we will download the archived package from the official website with the following command,
$ wget https://archive.apache.org/dist/tomcat/tomcat-8/v8.5.58/bin/apache-tomcat-8.5.58.tar.gz
Once the file has finished downloading, extract the package in /opt directory (we can also use some other directory like /data etc). Run the following command in terminal to extract the file,
$ tar -xvzf pache-tomcat-8.5.58.tar.gz -C /opt
$ mv /opt/apache-tomcat-8.5.58/ /opt/tomcat
Apache tomcat is now ready to be started but before we do that we need to assign credentials to access 'Manager' & 'GUI' page of tomcat, as by default no user name and pasword is setup. To asisgn the credentials, we will use the '/opt/tomcat/conf/tomcat-users.xml ' file,
$ vim /opt/tomcat/conf/tomcat-users.xml
& make the following entries to the file,
<role rolename="manager-gui" />
<user username="manager" password="Password@123" roles="manager-gui" />
<role rolename="admin-gui" />
<user username="admin" password="Password@123" roles="admin-gui" />
Make sure that you make these entries before the tag 'tomcat-users', i.e. make above entries before the below mentioned lines,
<tomcat-users xmlns="http://tomcat.apache.org/xml"
xmlns:xsi="http://www.w3.org/2001/XMLSchema-instance"
xsi:schemaLocation="http://tomcat.apache.org/xml tomcat-users.xsd"
version="1.0">
Once done, save the file & exit.
We need to make another change, though this is completely optional & completely depends on how you will access the manager page.We can only access the manager page from the browser on localhost but it we to access it on some other remote machines, we need to modify the 'context.html' for manager to comment the lines which disables the remote login,
$ vi /opt/tomcat/webapps/manager/META-INF/context.xml
<Context antiResourceLocking="false" privileged="true" >
<!-- <Valve className="org.apache.catalina.valves.RemoteAddrValve"
allow="127\.\d+\.\d+\.\d+|::1|0:0:0:0:0:0:0:1" /> -->
</Context>
Same is to be for host-manager's context file as well,
$ vi /opt/tomcat/webapps/host-manager/META-INF/context.xml
<Context antiResourceLocking="false" privileged="true" >
<!-- <Valve className="org.apache.catalina.valves.RemoteAddrValve"
allow="127\.\d+\.\d+\.\d+|::1|0:0:0:0:0:0:0:1" /> -->
</Context>
We are now ready to start the tomcat server, goto /opt/tomcat/bin folder & run the script named 'startup.sh',
$ cd /opt/tomcat/bin
$ sh startup.sh
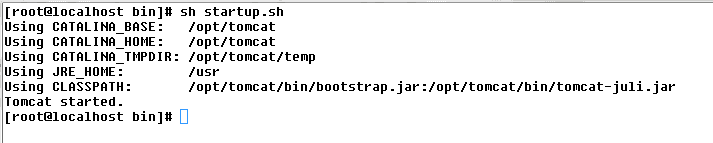
Apache tomcat will start with the following output,
Now open a web browser of your choice & use the following URL to access the Apache tomcat UI,
http://192.168.1.100:8080
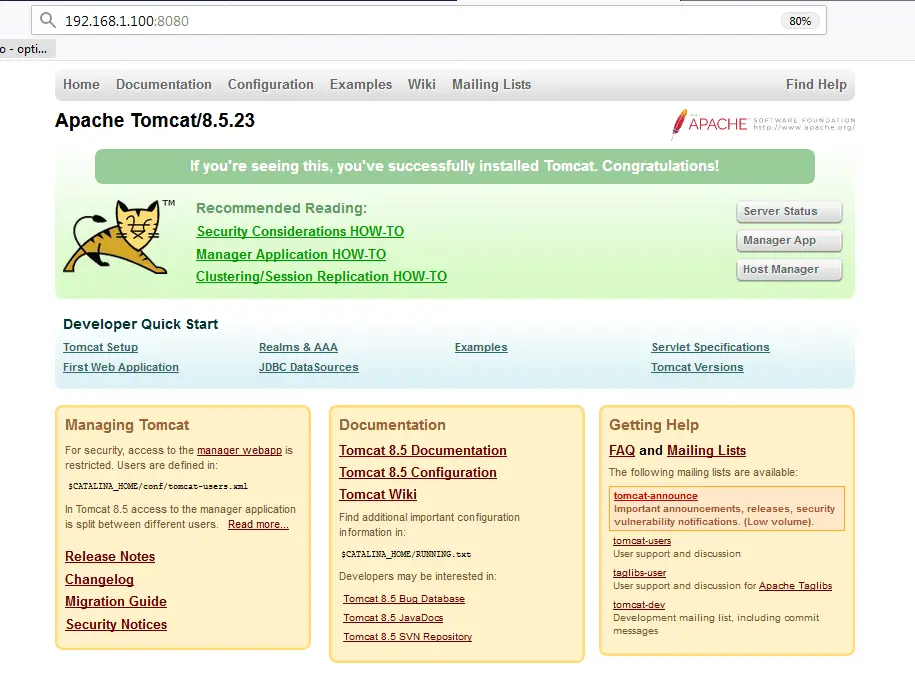
here, 192.168.1.100 is the IP address to apache tomcat server. We will now be directed to following page,
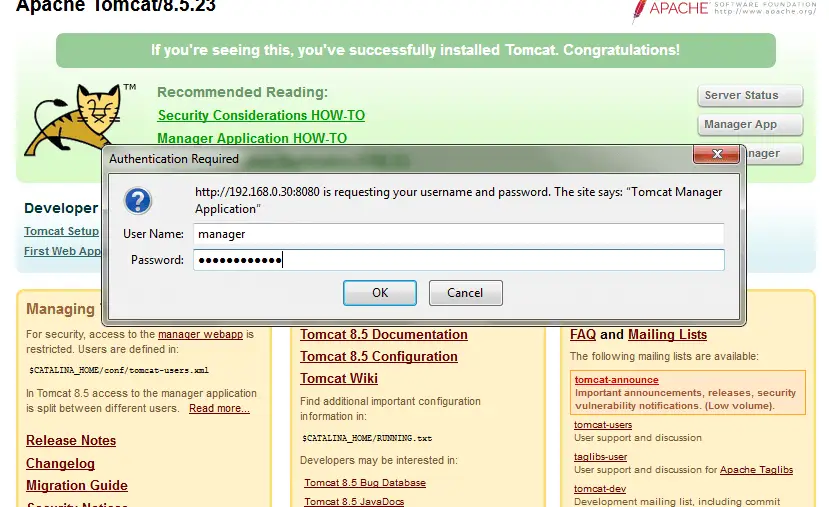
From this page only, we can access 'Manager' & 'Host Manager' pages by clicking on the respective tabs. Upon clicking any of the tabs, we would be asked to authenticate, in order to access the page. We need to enter the credentials which we have earlier setup to access the page,
With this we end our tutorial on how to install Tomcat or Apache Tomcat 8.5 on CentOS/RHEL & Ubuntu/Debain machines. Please feel free to send in your queries or suggestions using the comment box below.
If you think we have helped you or just want to support us, please consider these :-
Connect to us: Facebook | Twitter | Google Plus
Donate us some of you hard earned money: [paypal-donation]
Linux TechLab is thankful for your continued support.
Really it’s very good and steps which you provided is very clear..
Just replace $ tar -xvzf pache-tomcat-8.5.23.tar.gz -C /opt with:
$ tar -xvzf apache-tomcat-8.5.23.tar.gz -C /opt